
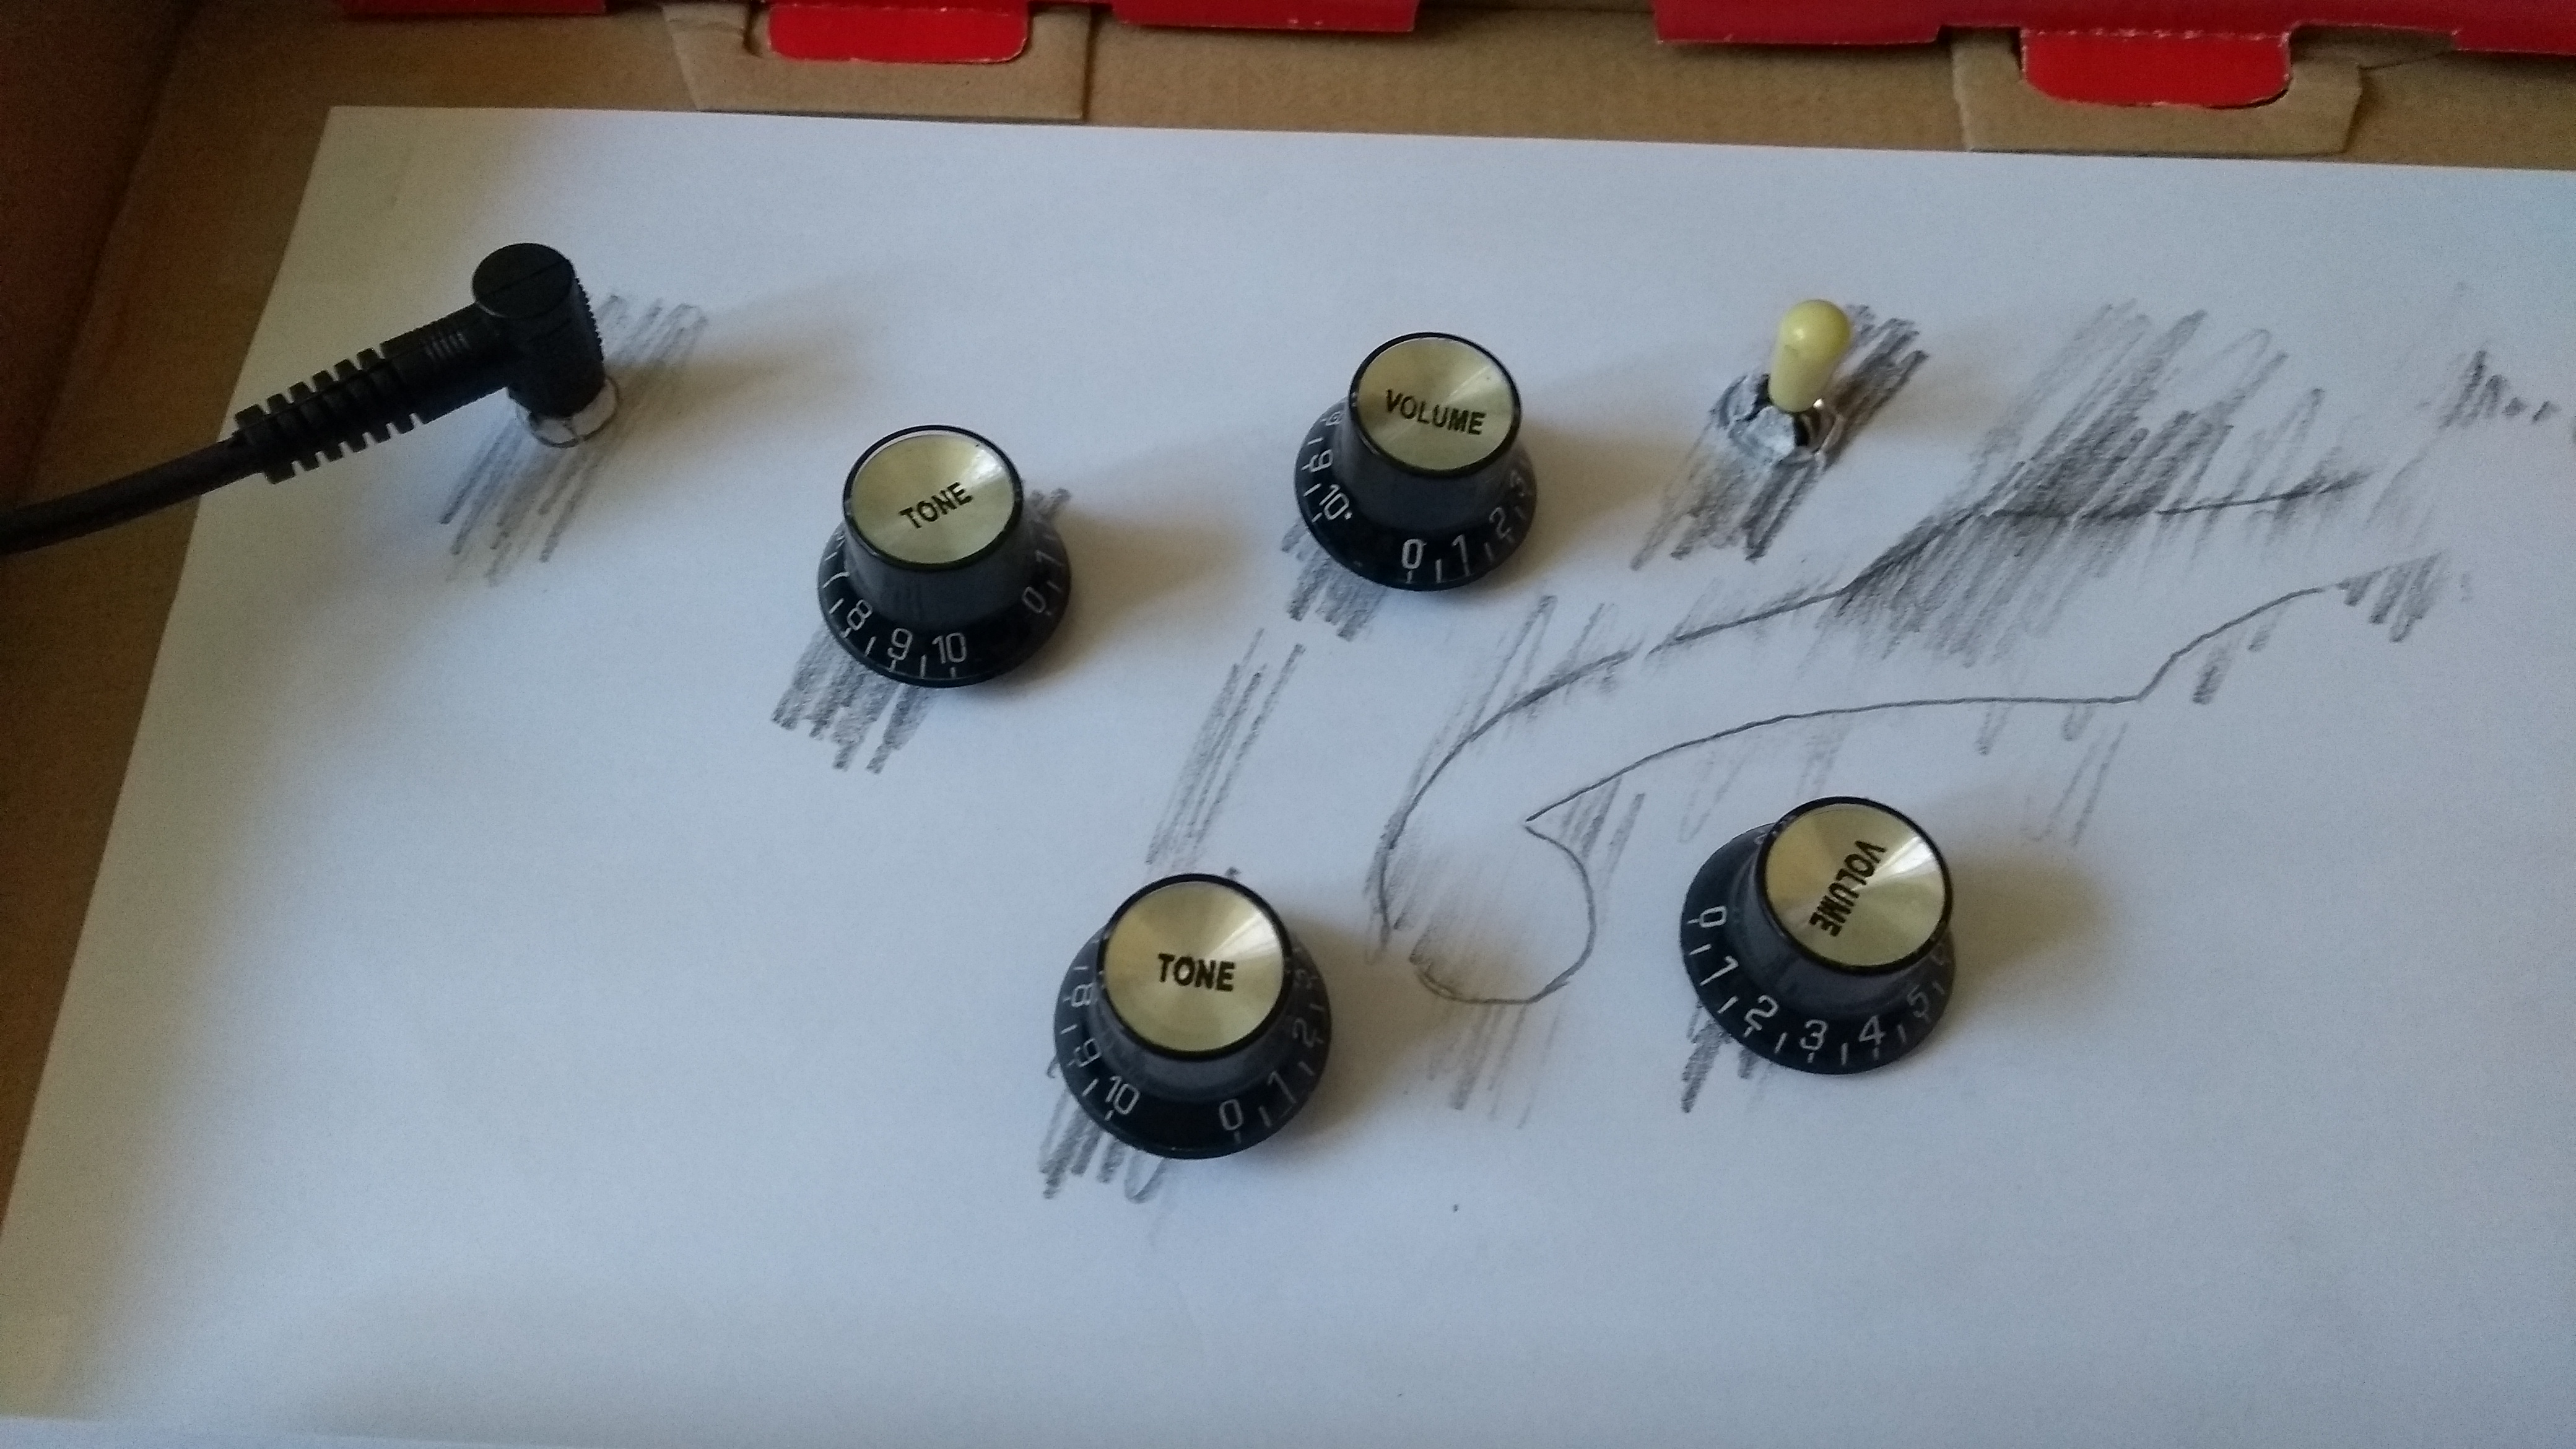
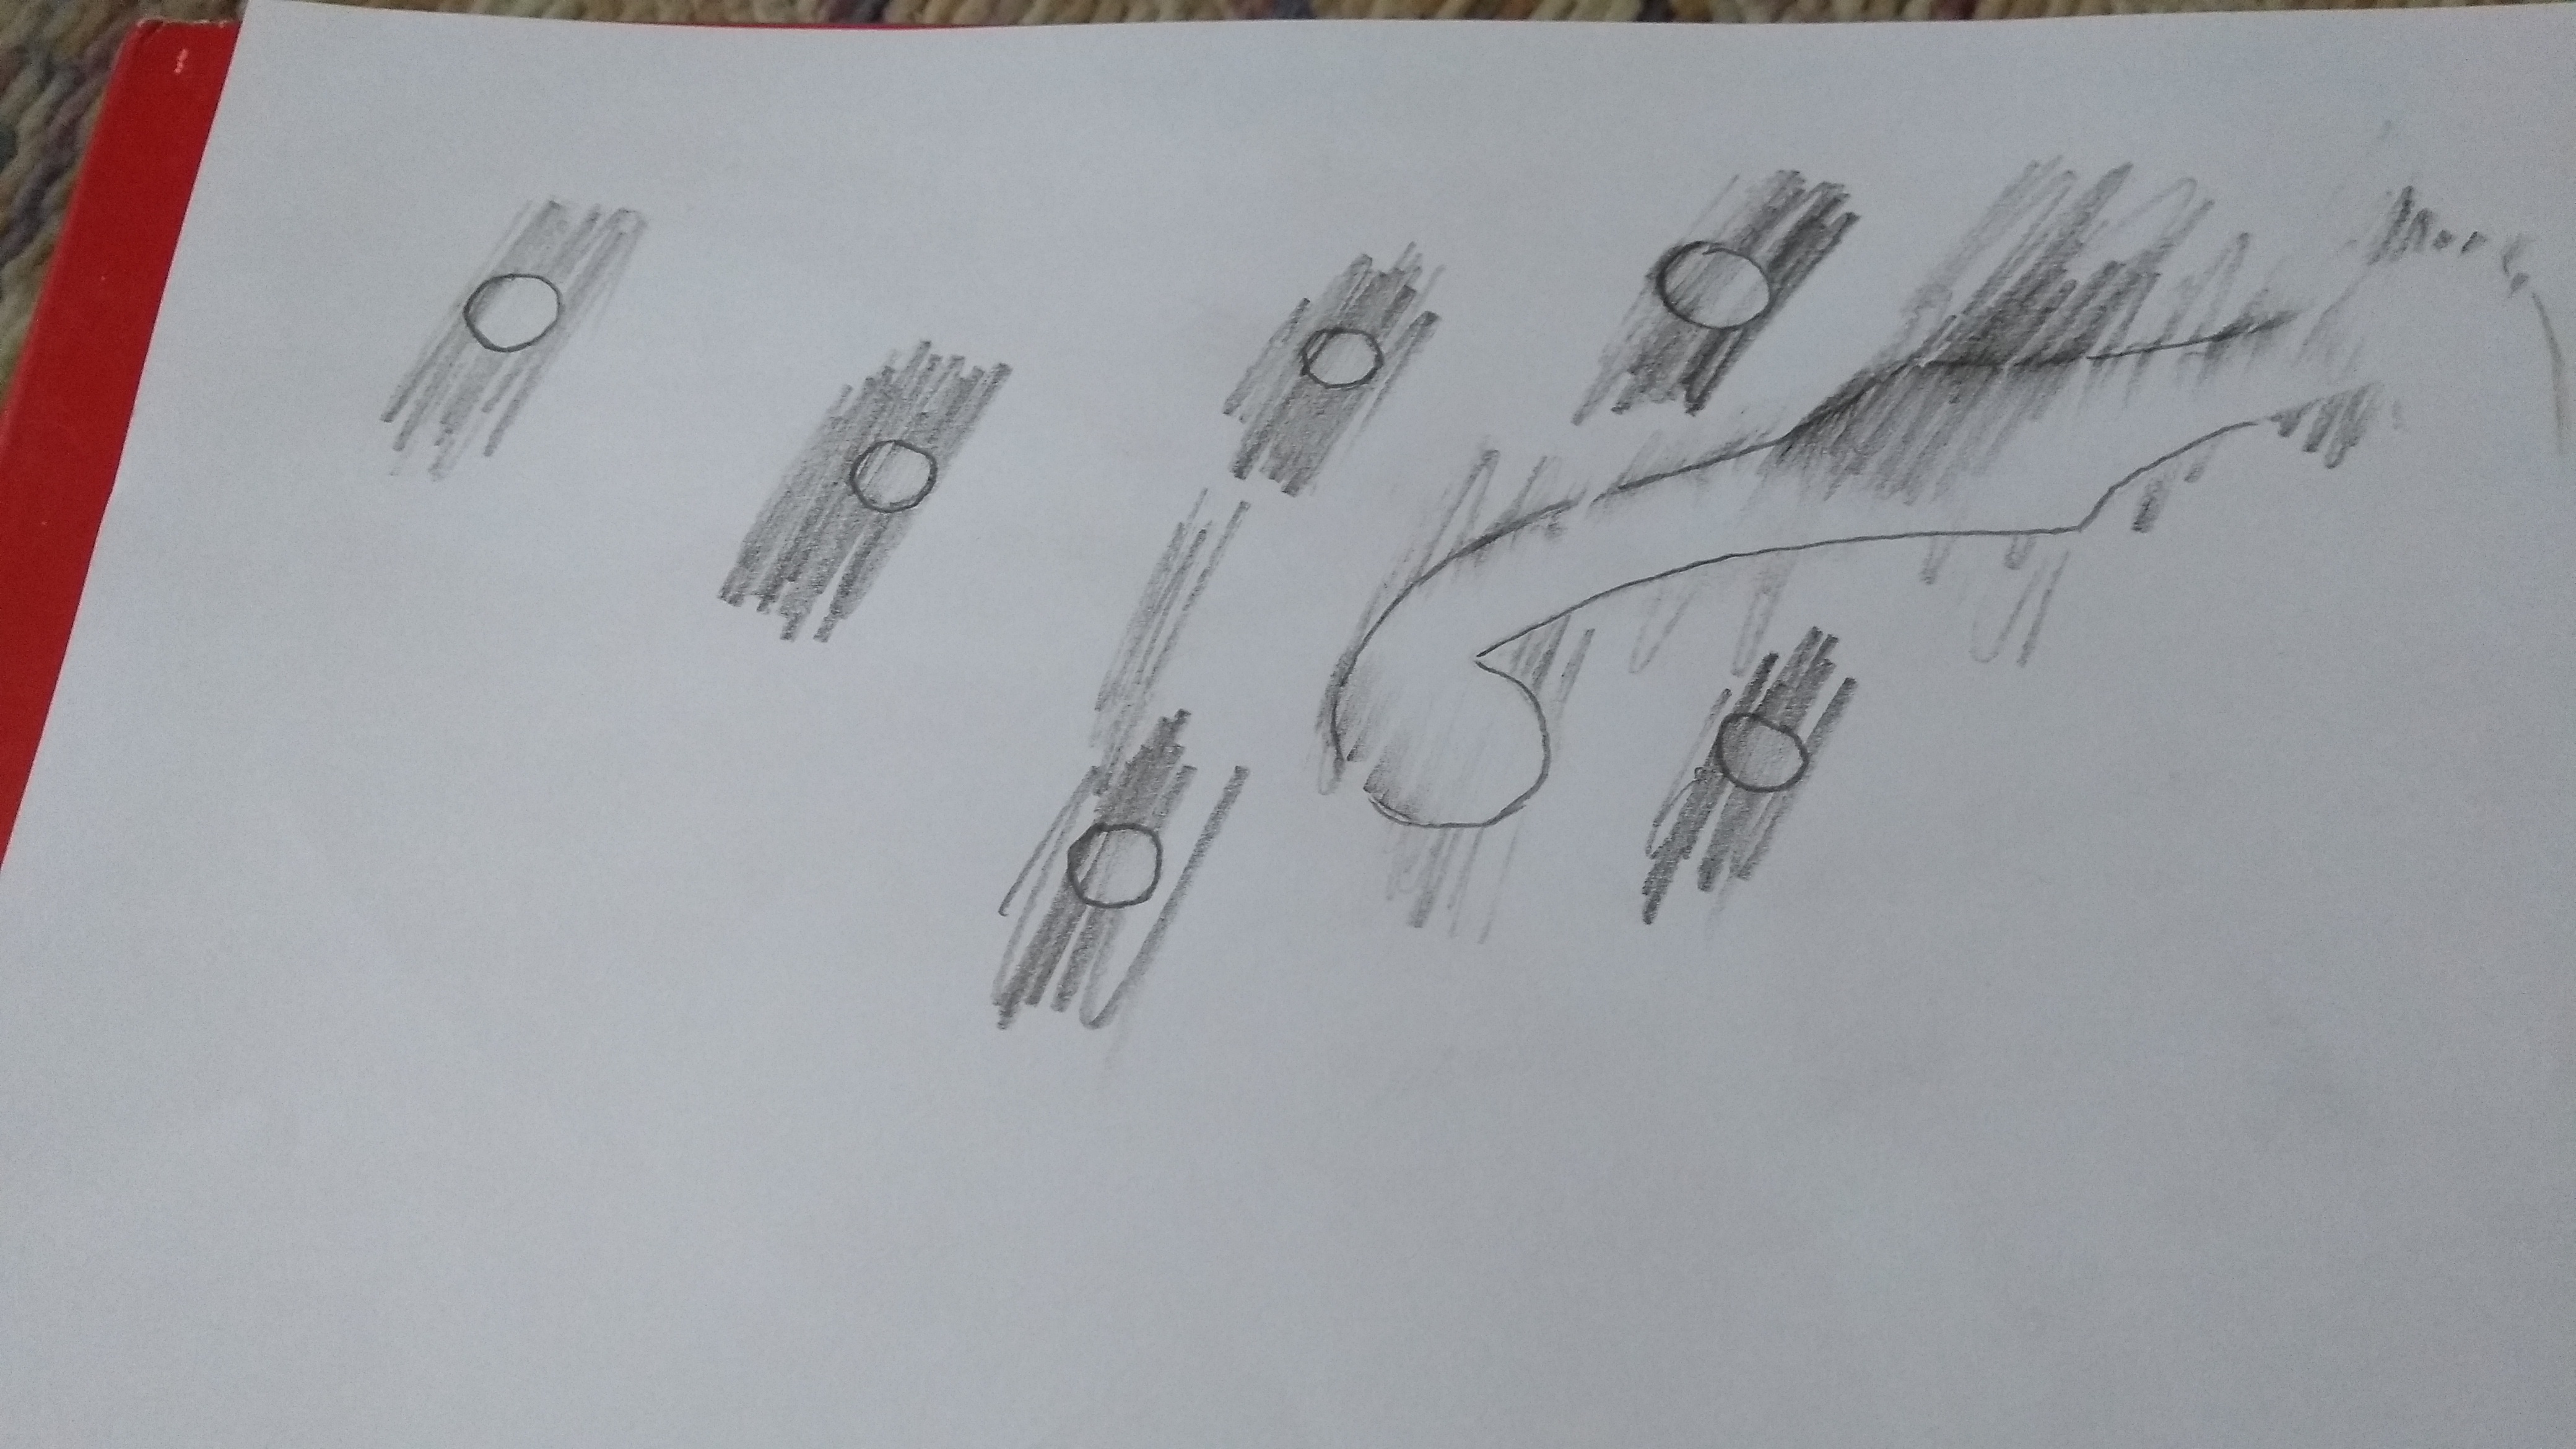
Tracing of component layout and f-hole
On to the wiring. My other guitar is a Les Paul which has a handy hatch in the back. You take out 4 screws and the back of all the knobs is revealed. A 335 is a bit different. The back doesn’t open.
Having spent some time on YouTube I found a few videos explaining how I was going to have to do all the wiring outside the guitar and then poke it through the f-hole and somehow get the knobs to come back out through the various holes.
Step 1 was making a template by drawing the location of the holes and the f-holes.
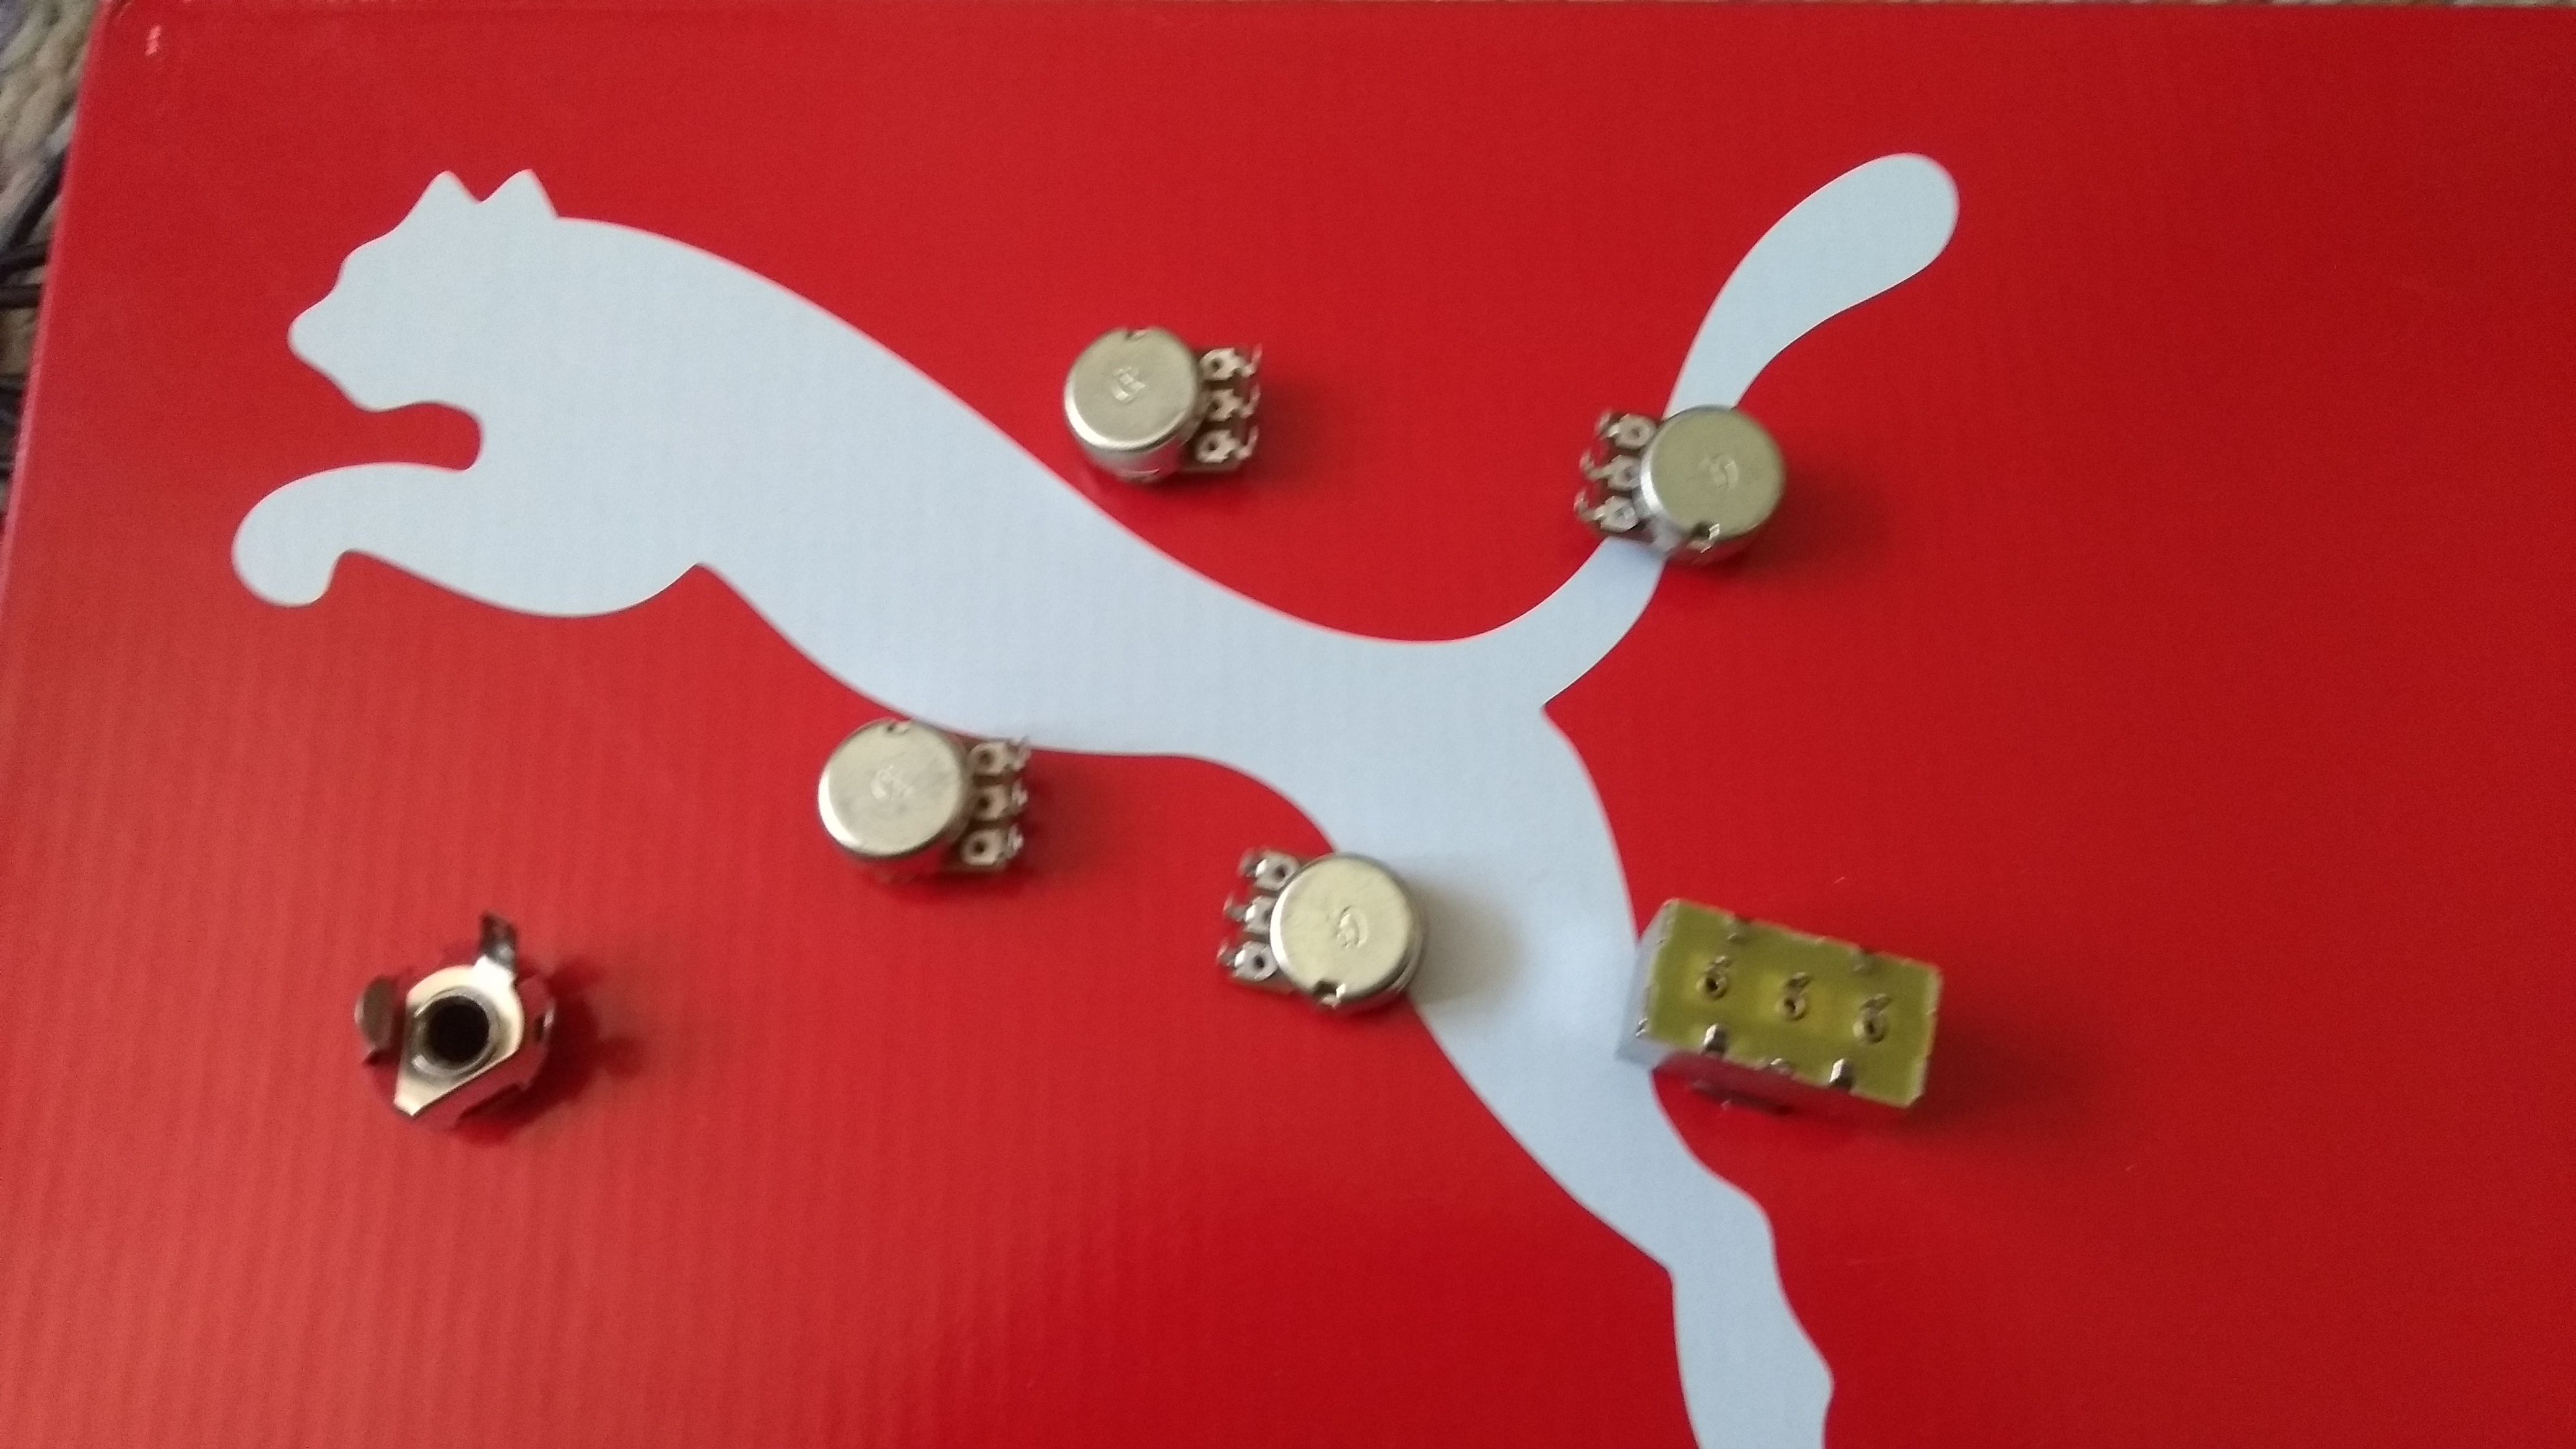
Components in shoe box
Having done that you mount it on the inside of a shoebox lid, make some holes in the right places and poke the components in from the top. Then what you have is the front of the guitar inside the shoebox lid and the terminals of all the components in the open on the top of the shoebox where you can get at them.