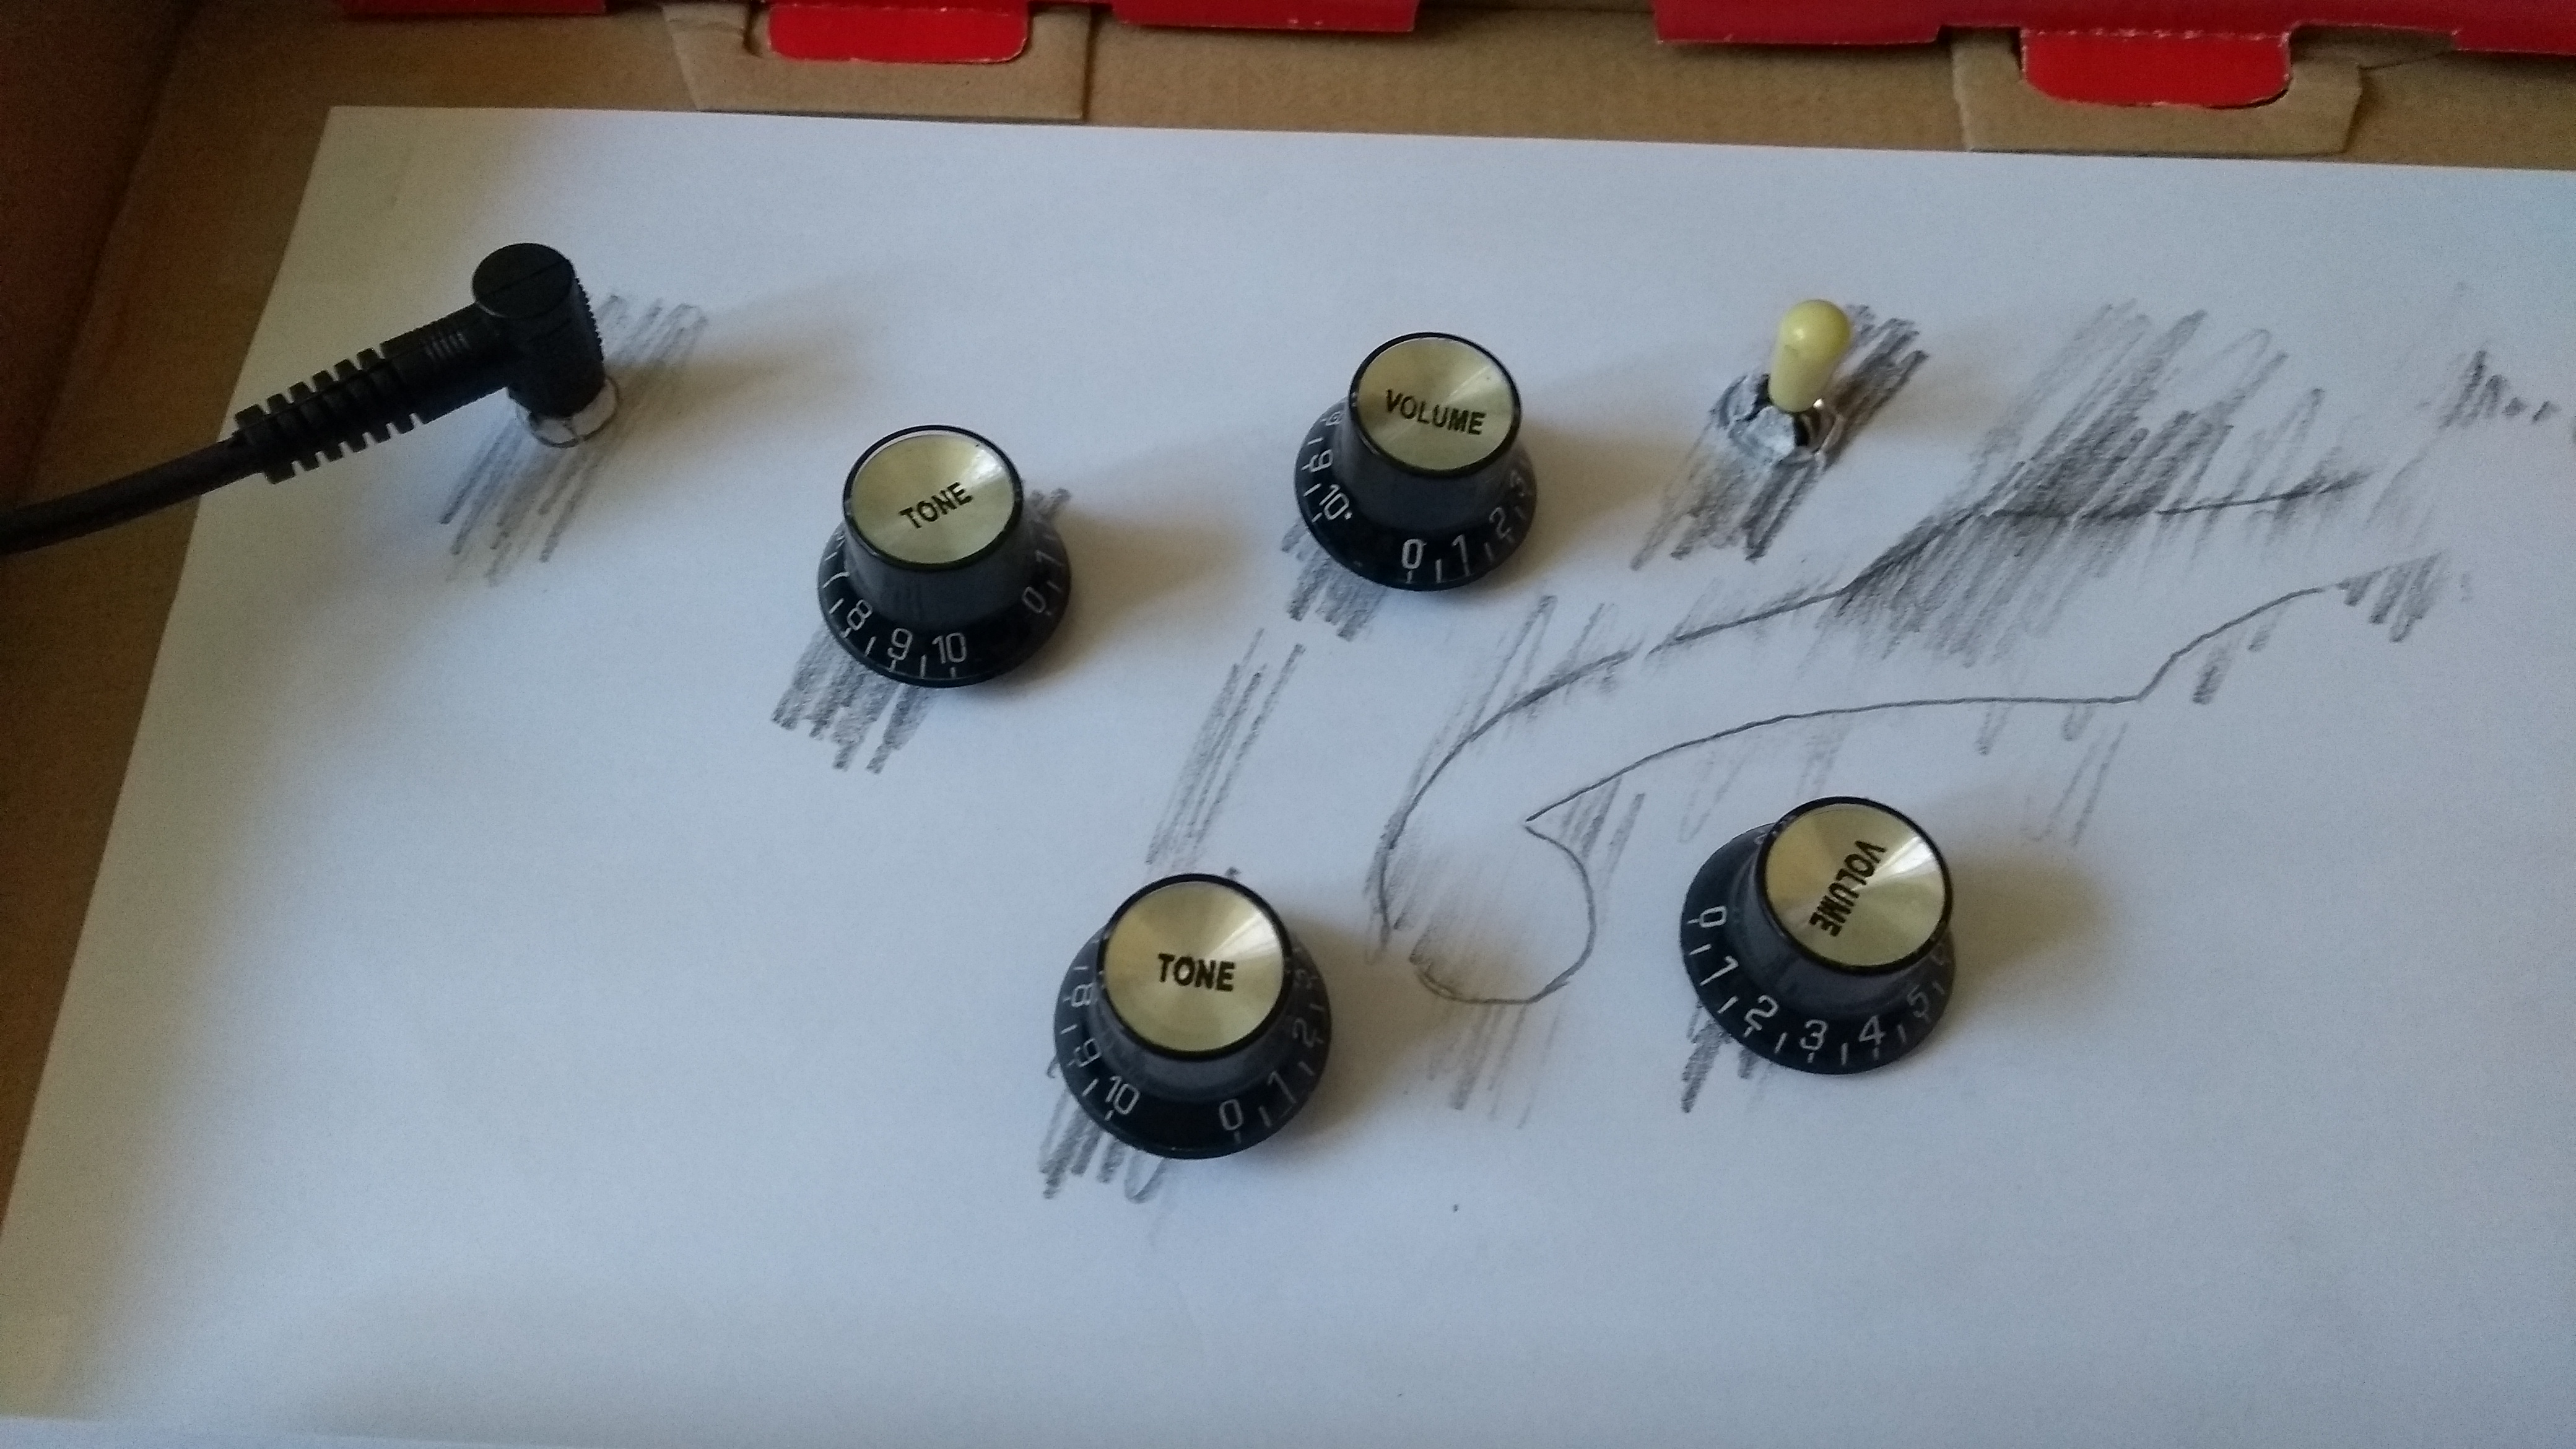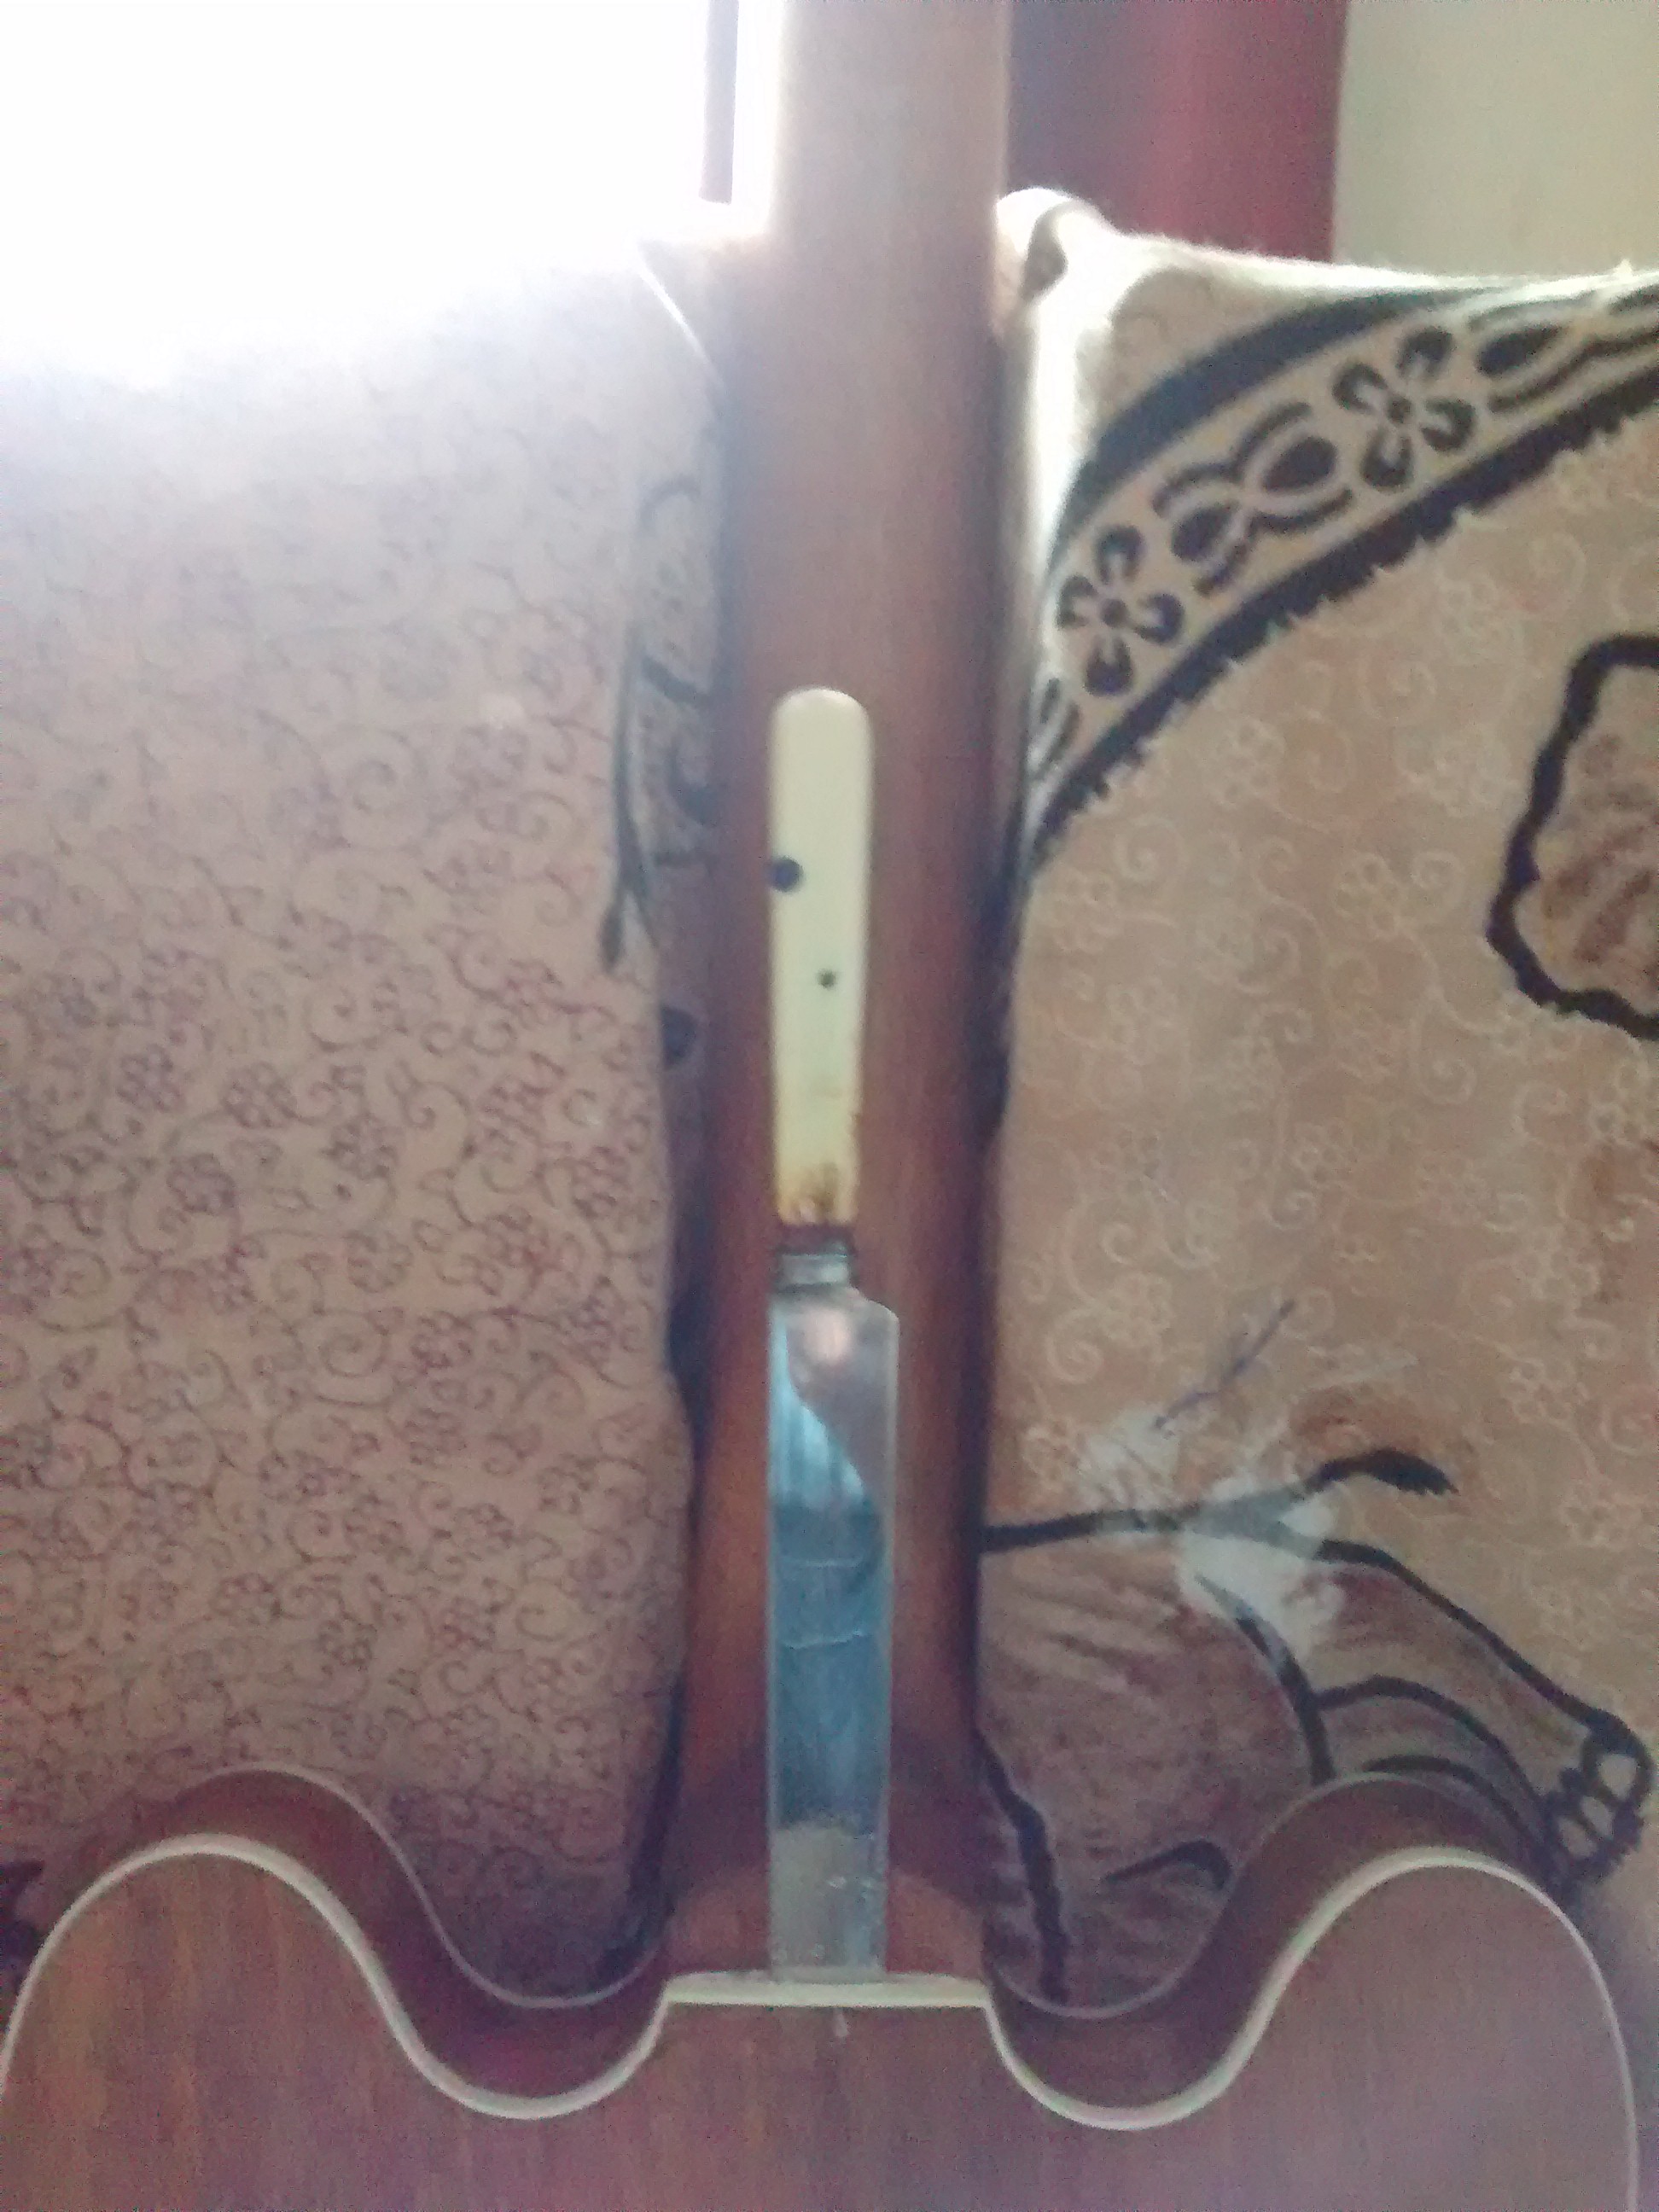
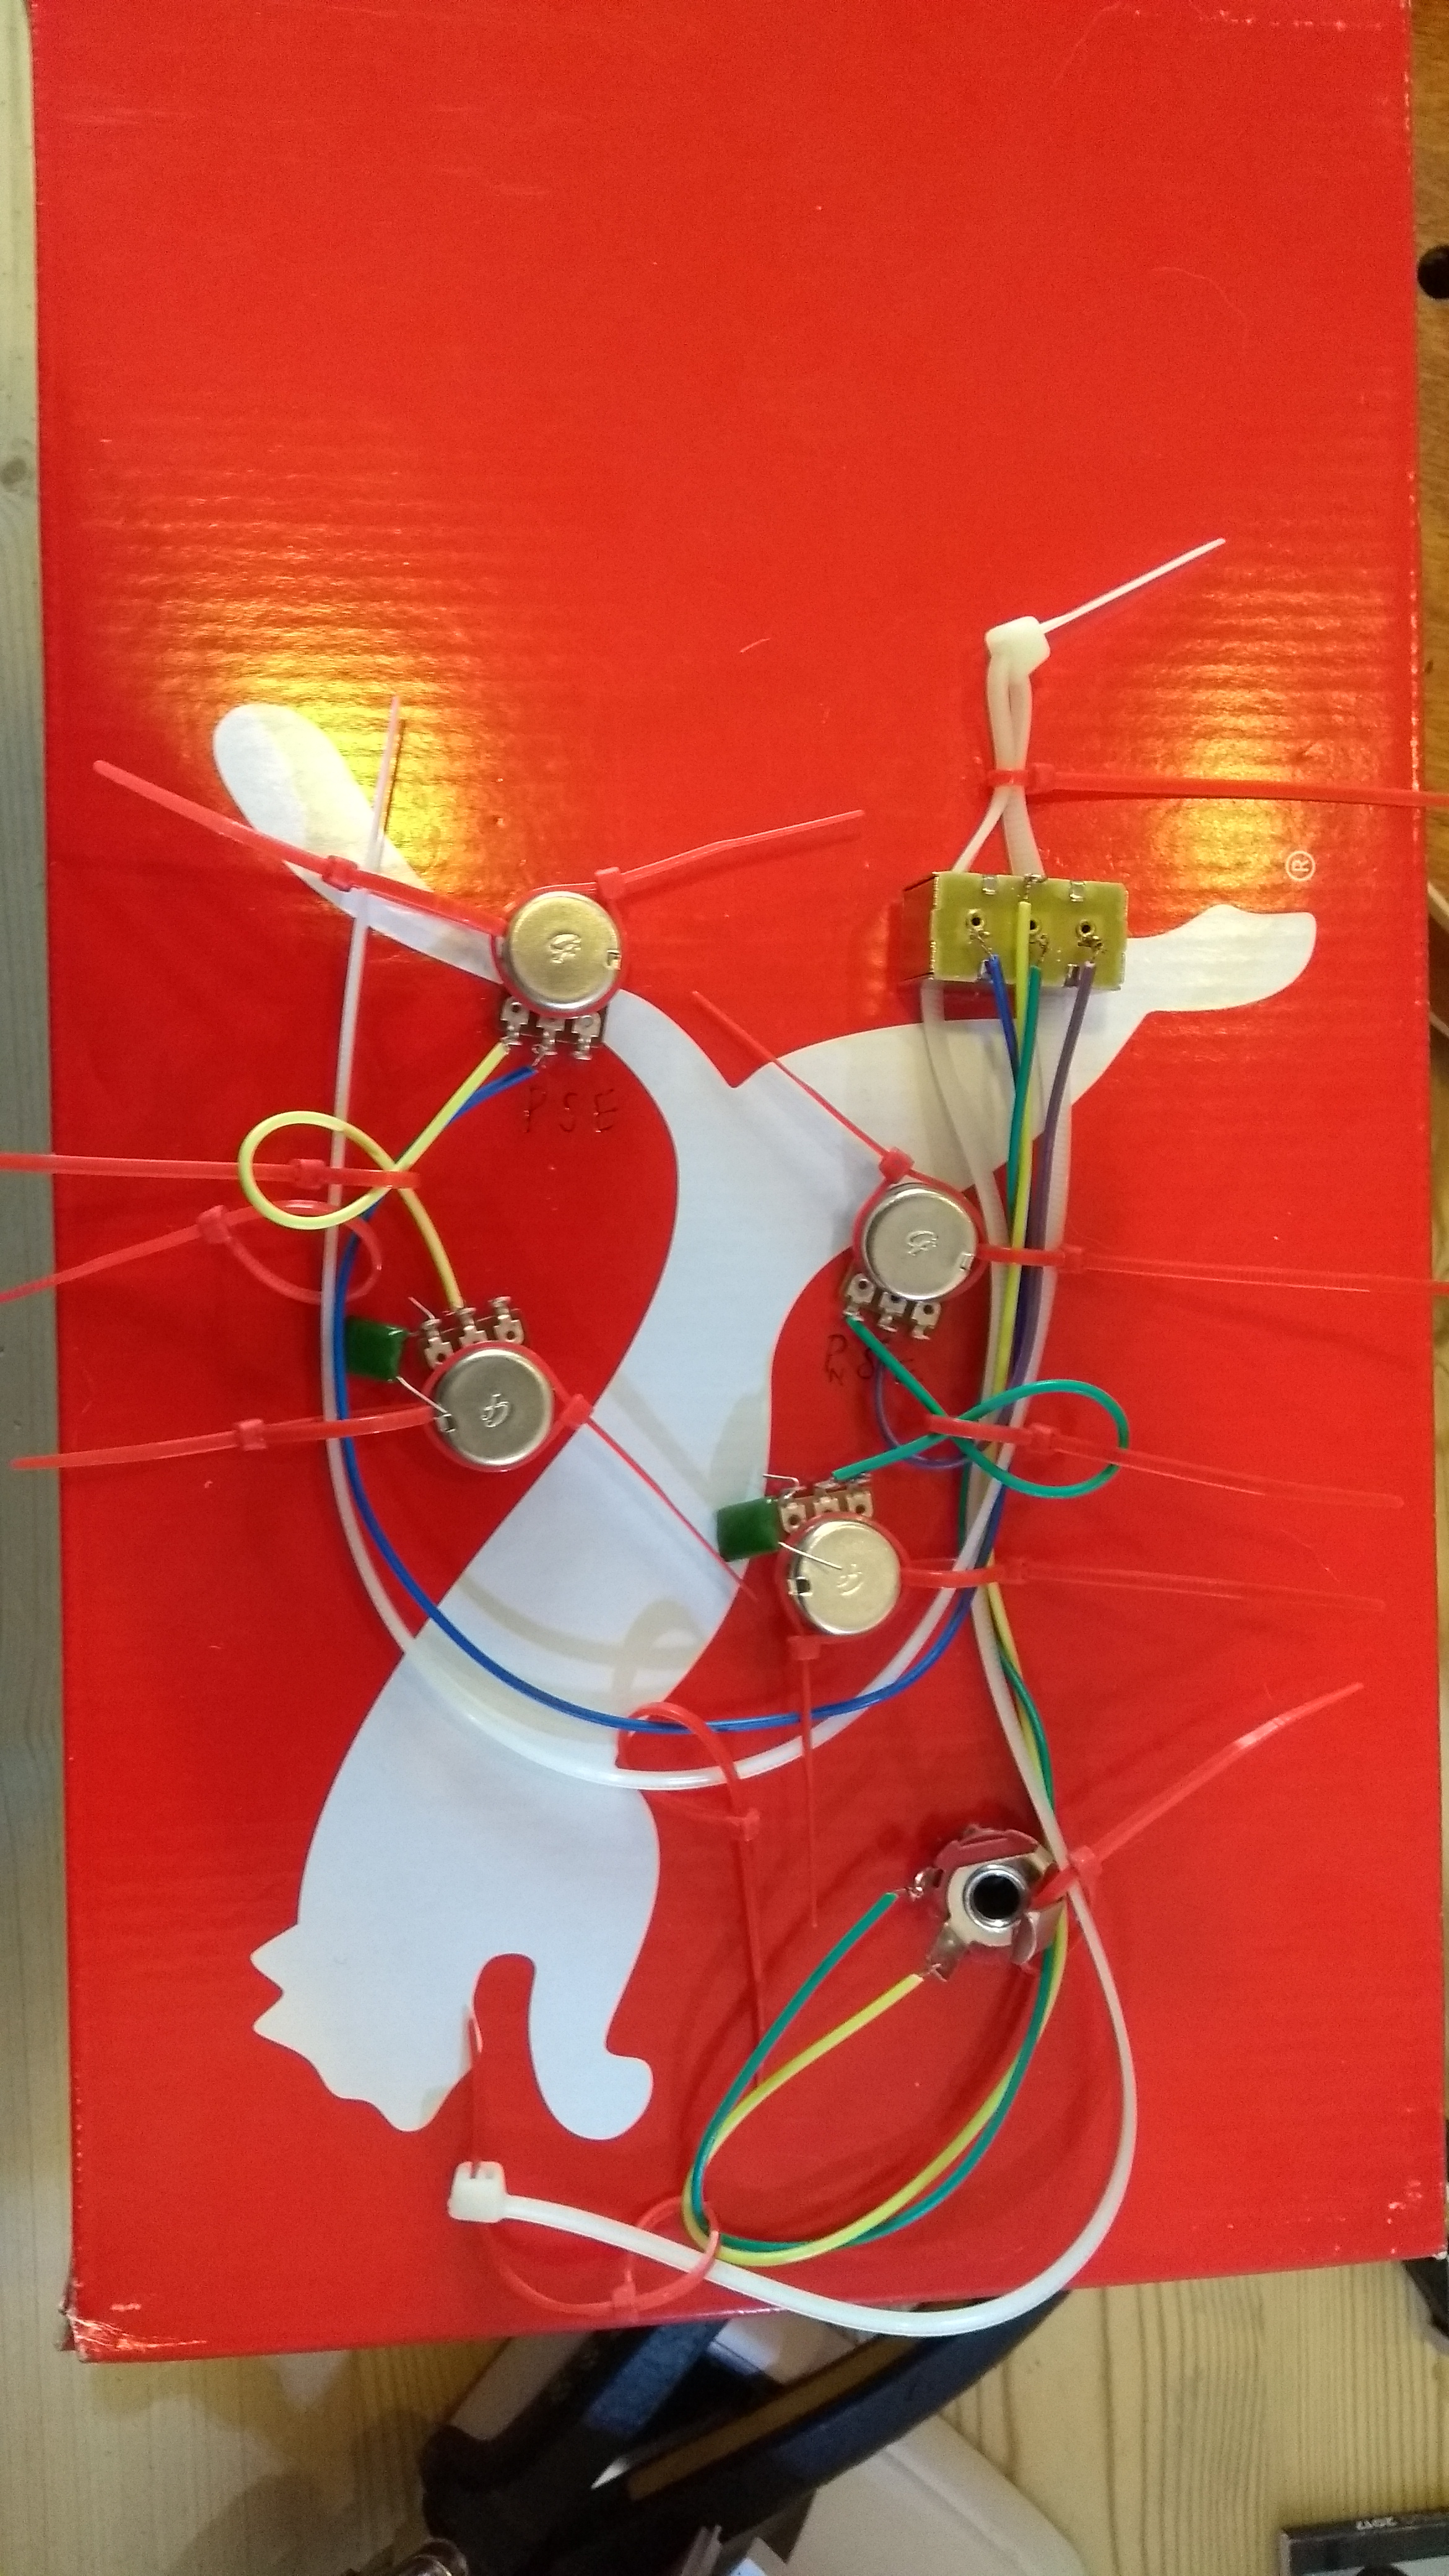
Initial wire harness
The YouTube video then had another brilliant idea. You mount all the wiring on a harness made out of cable ties meaning that you have a relatively strong but flexible support framework which stops you pulling on the wire core or solder joints.
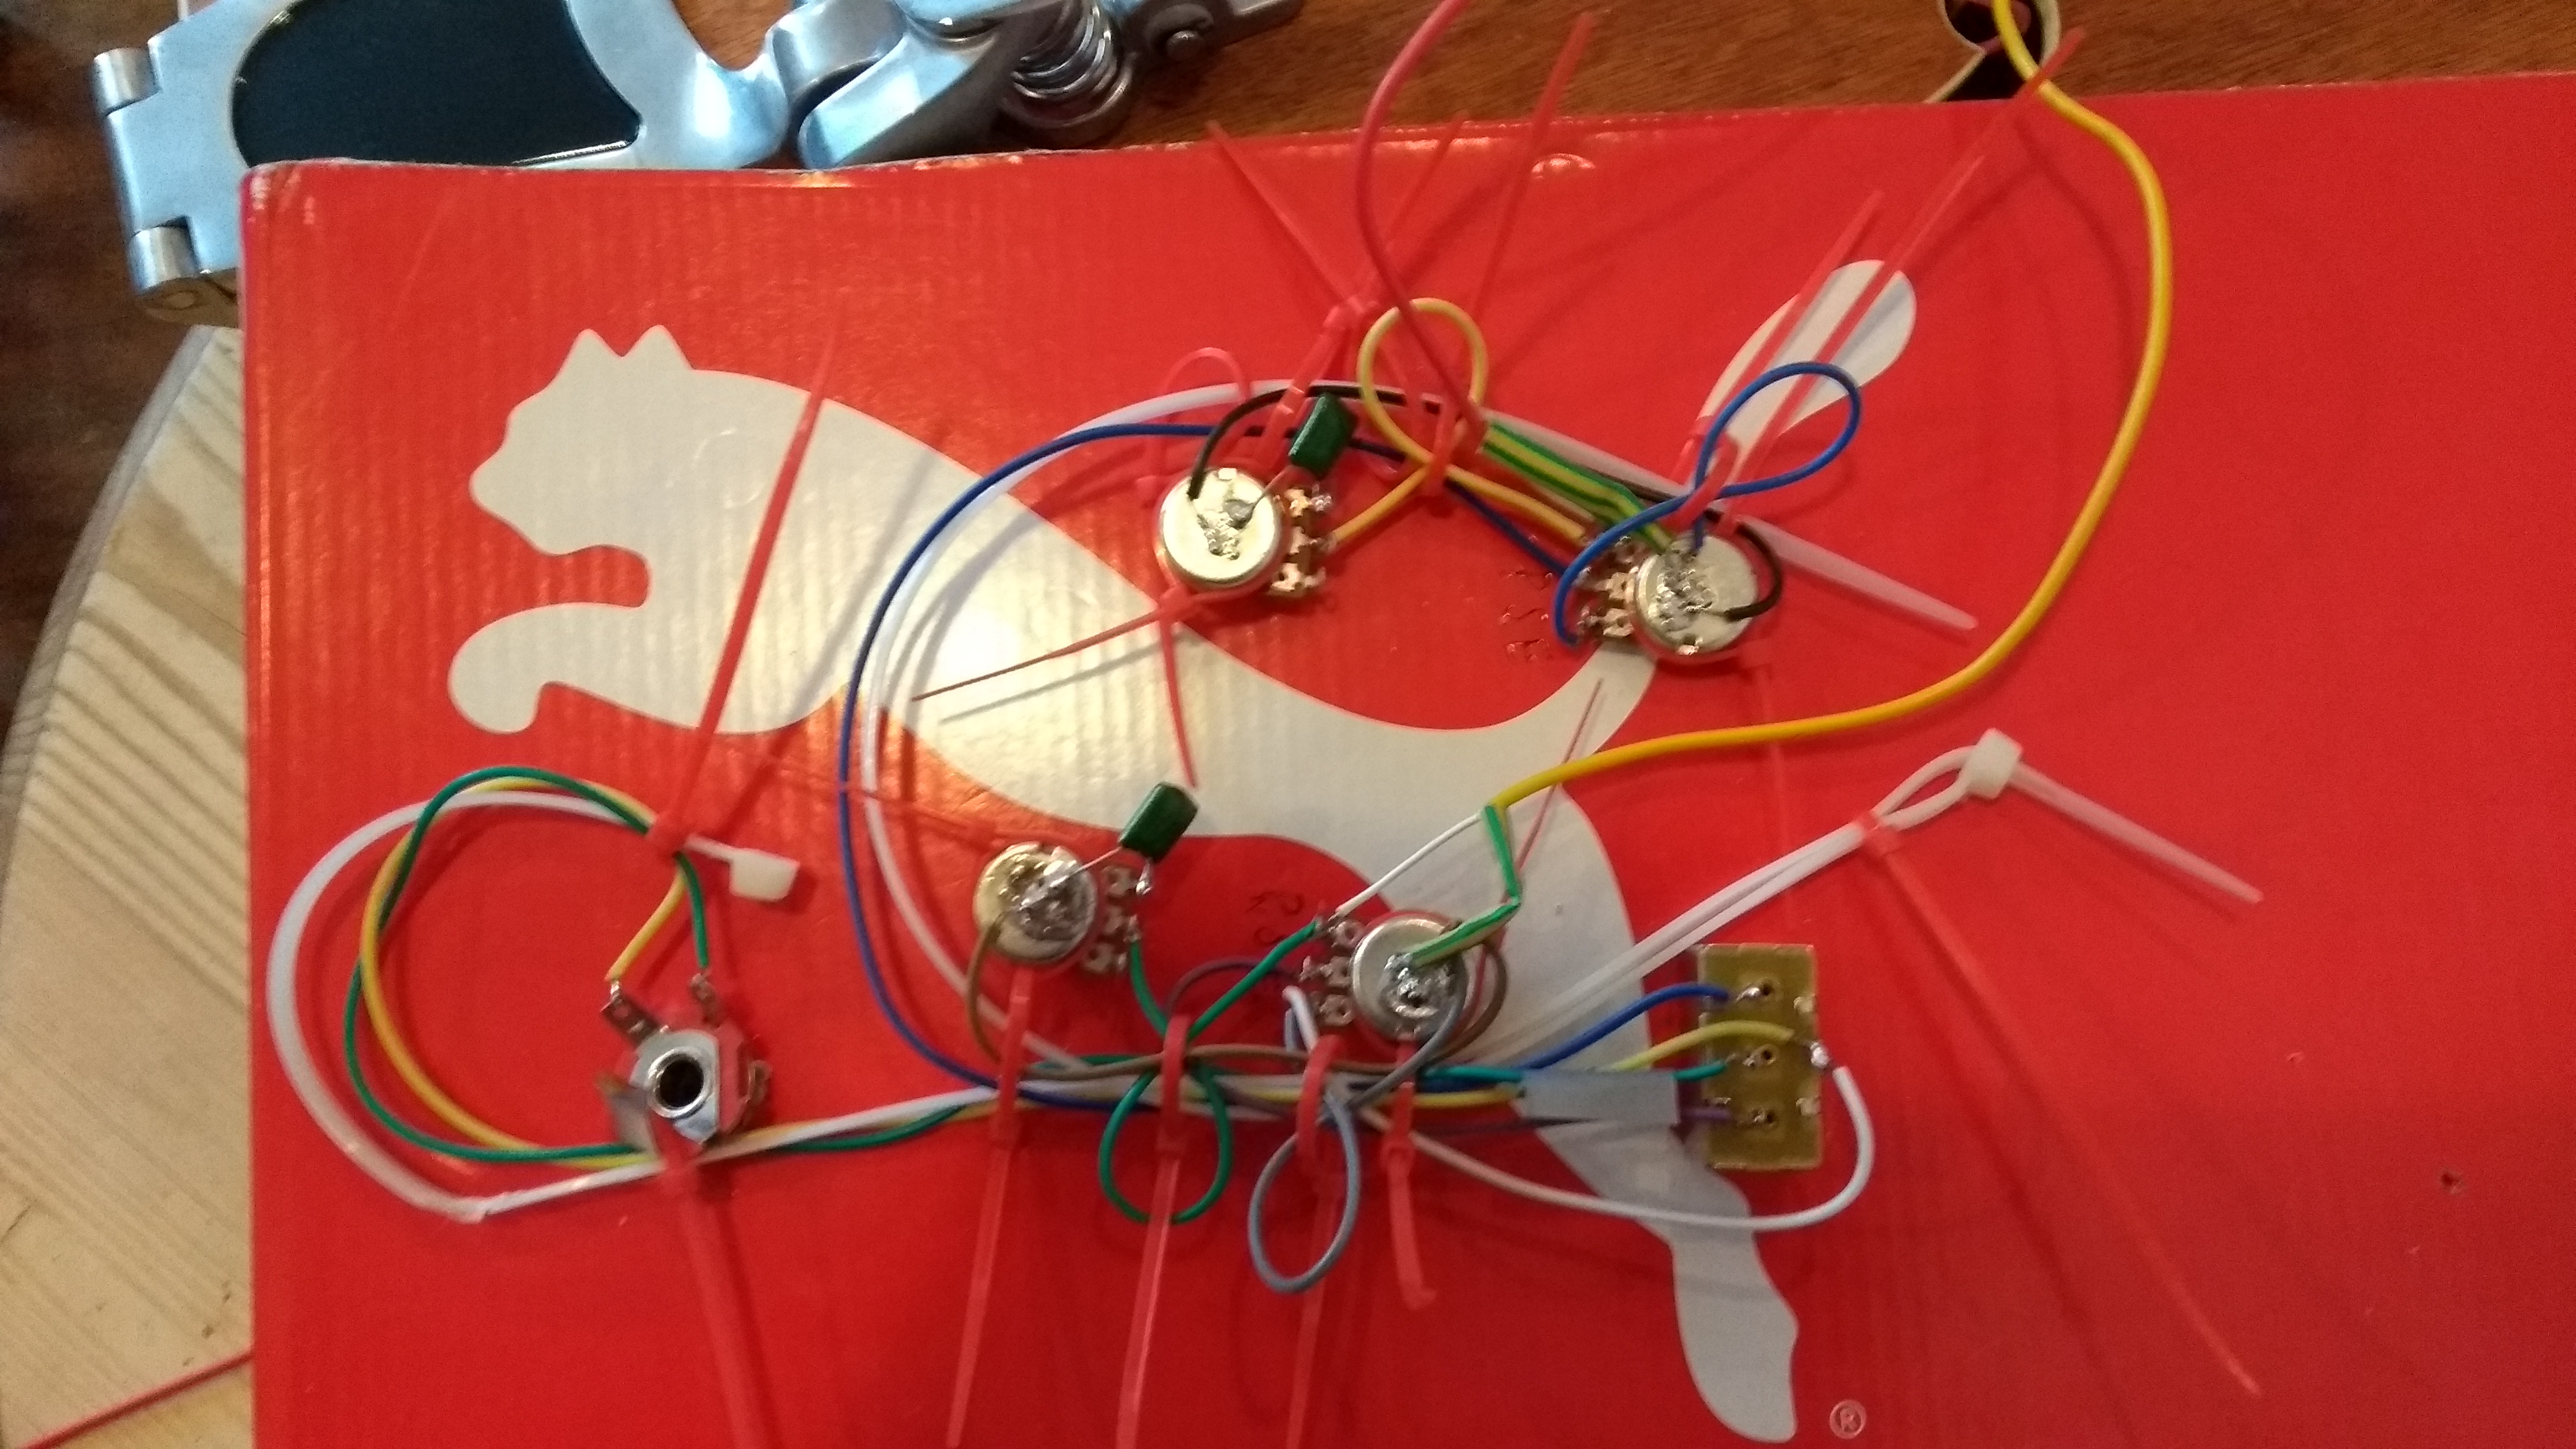
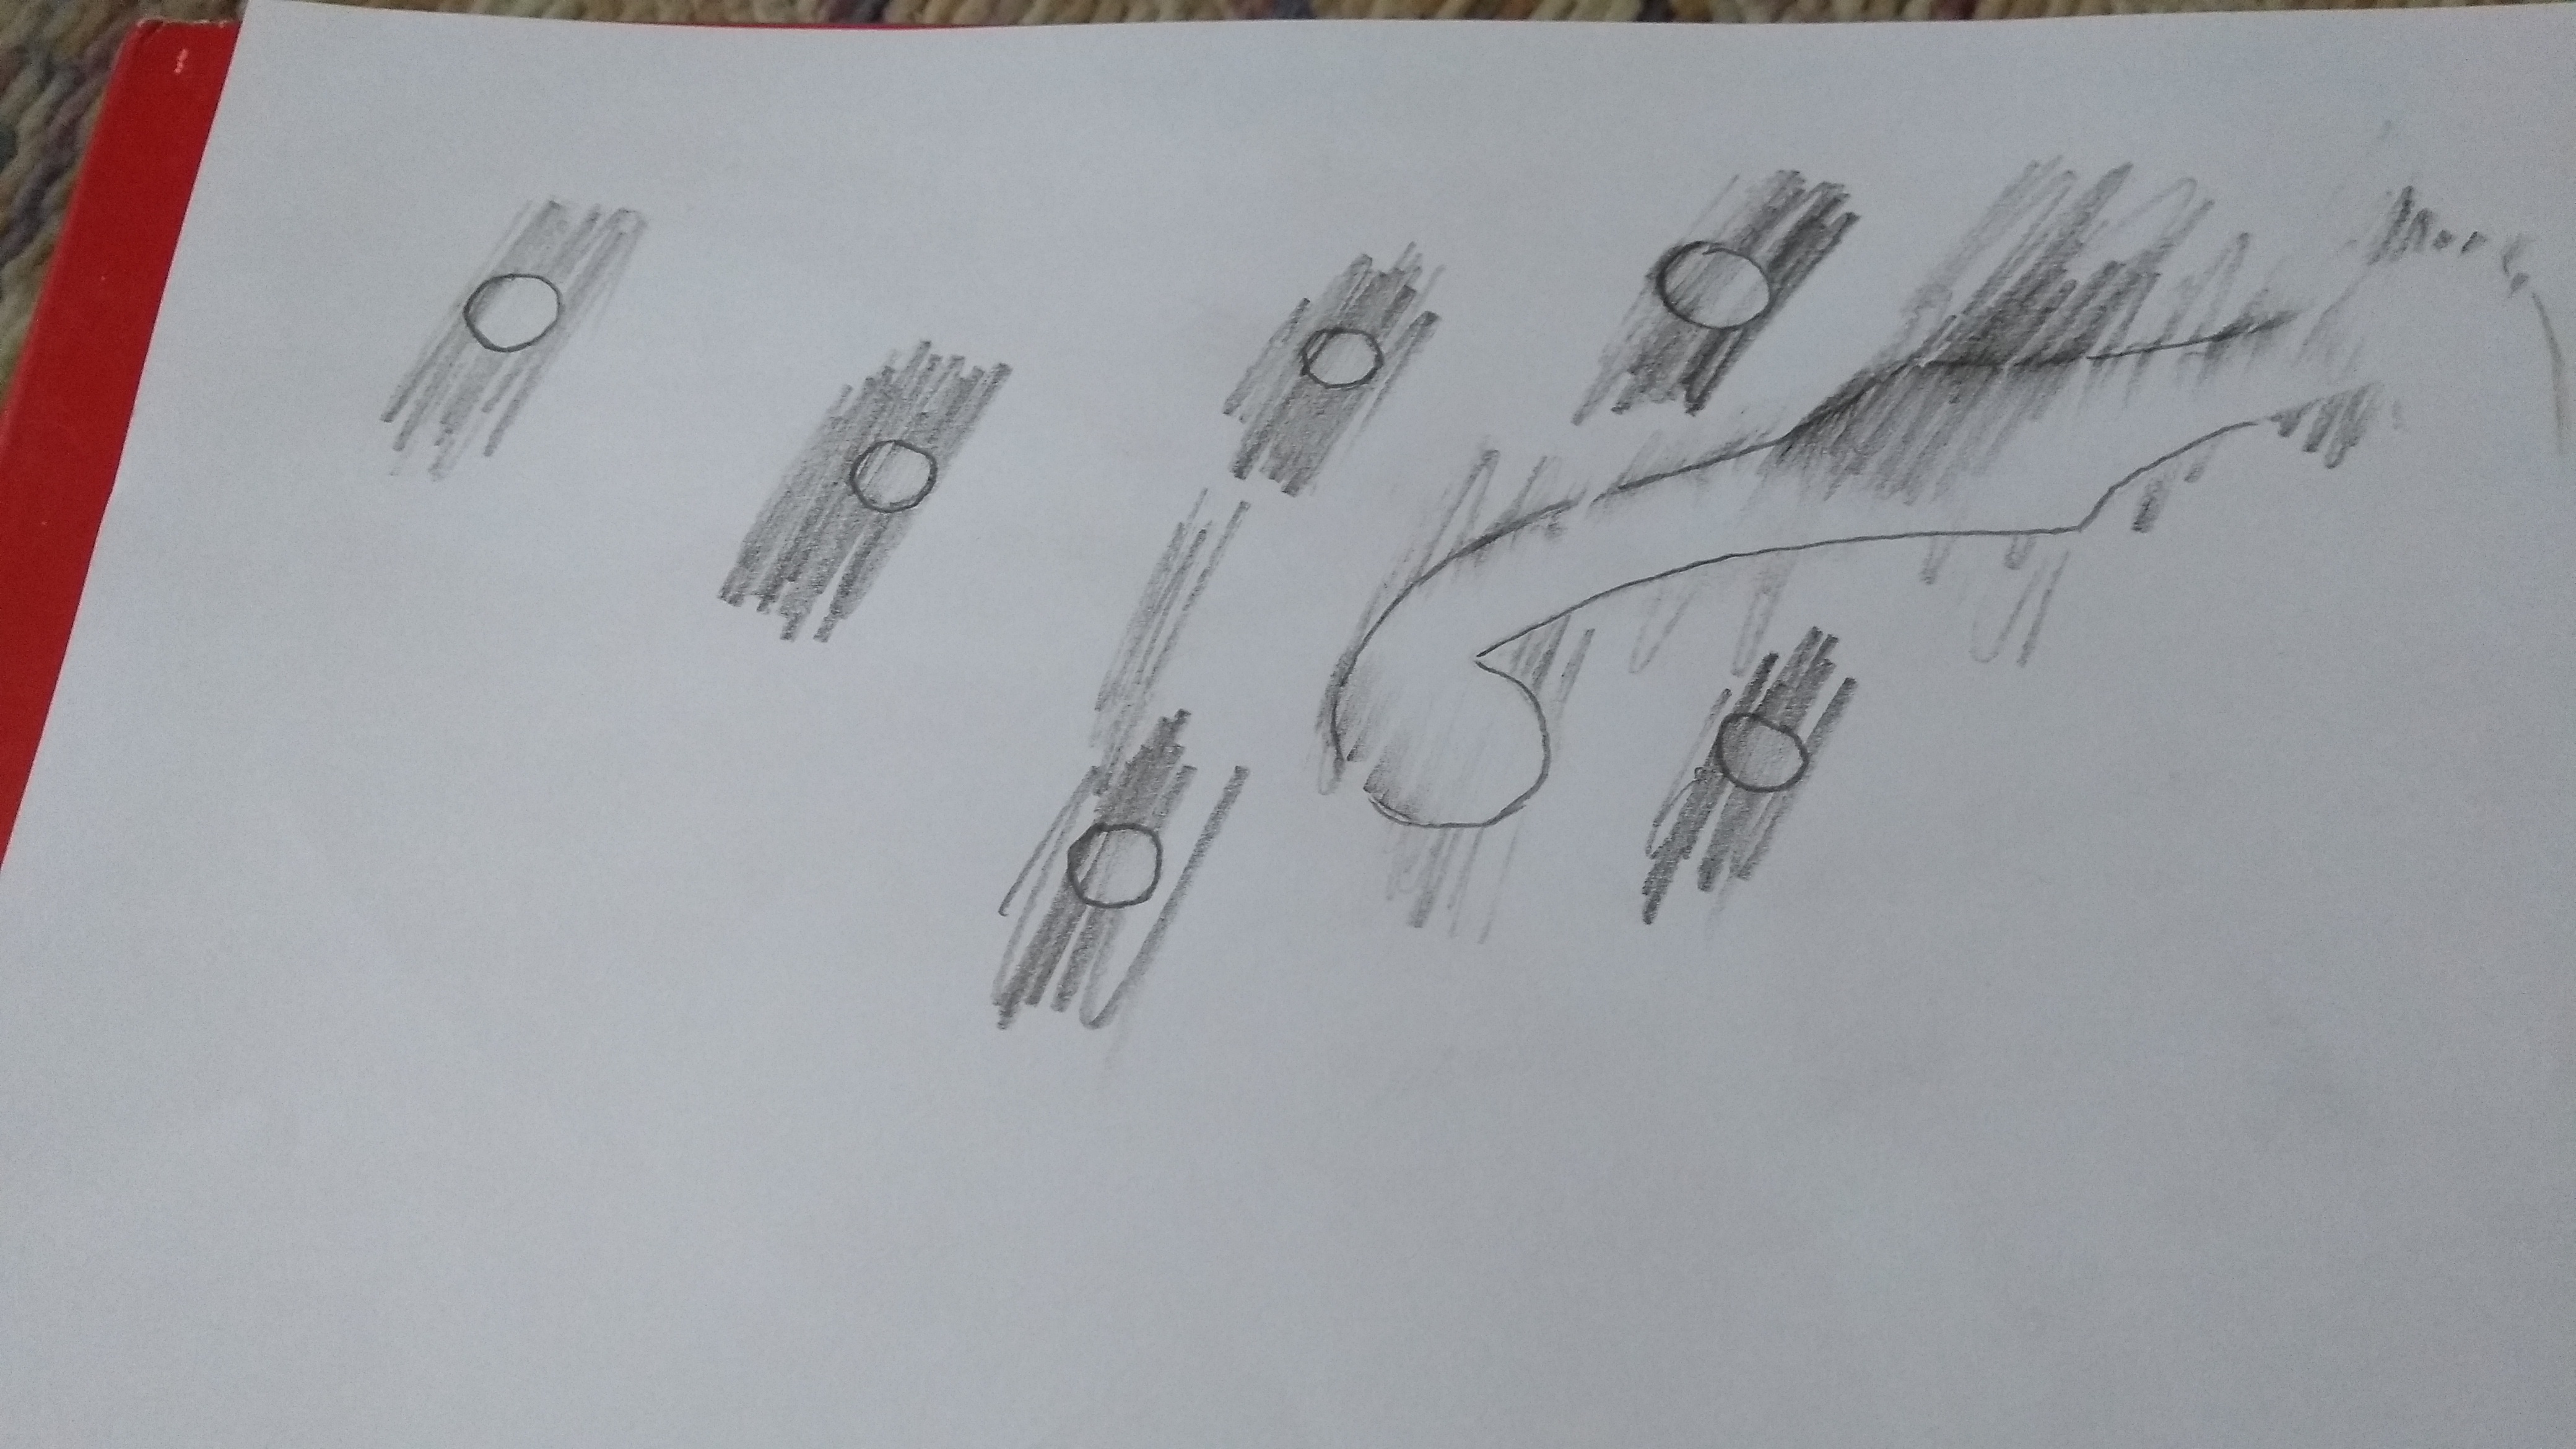
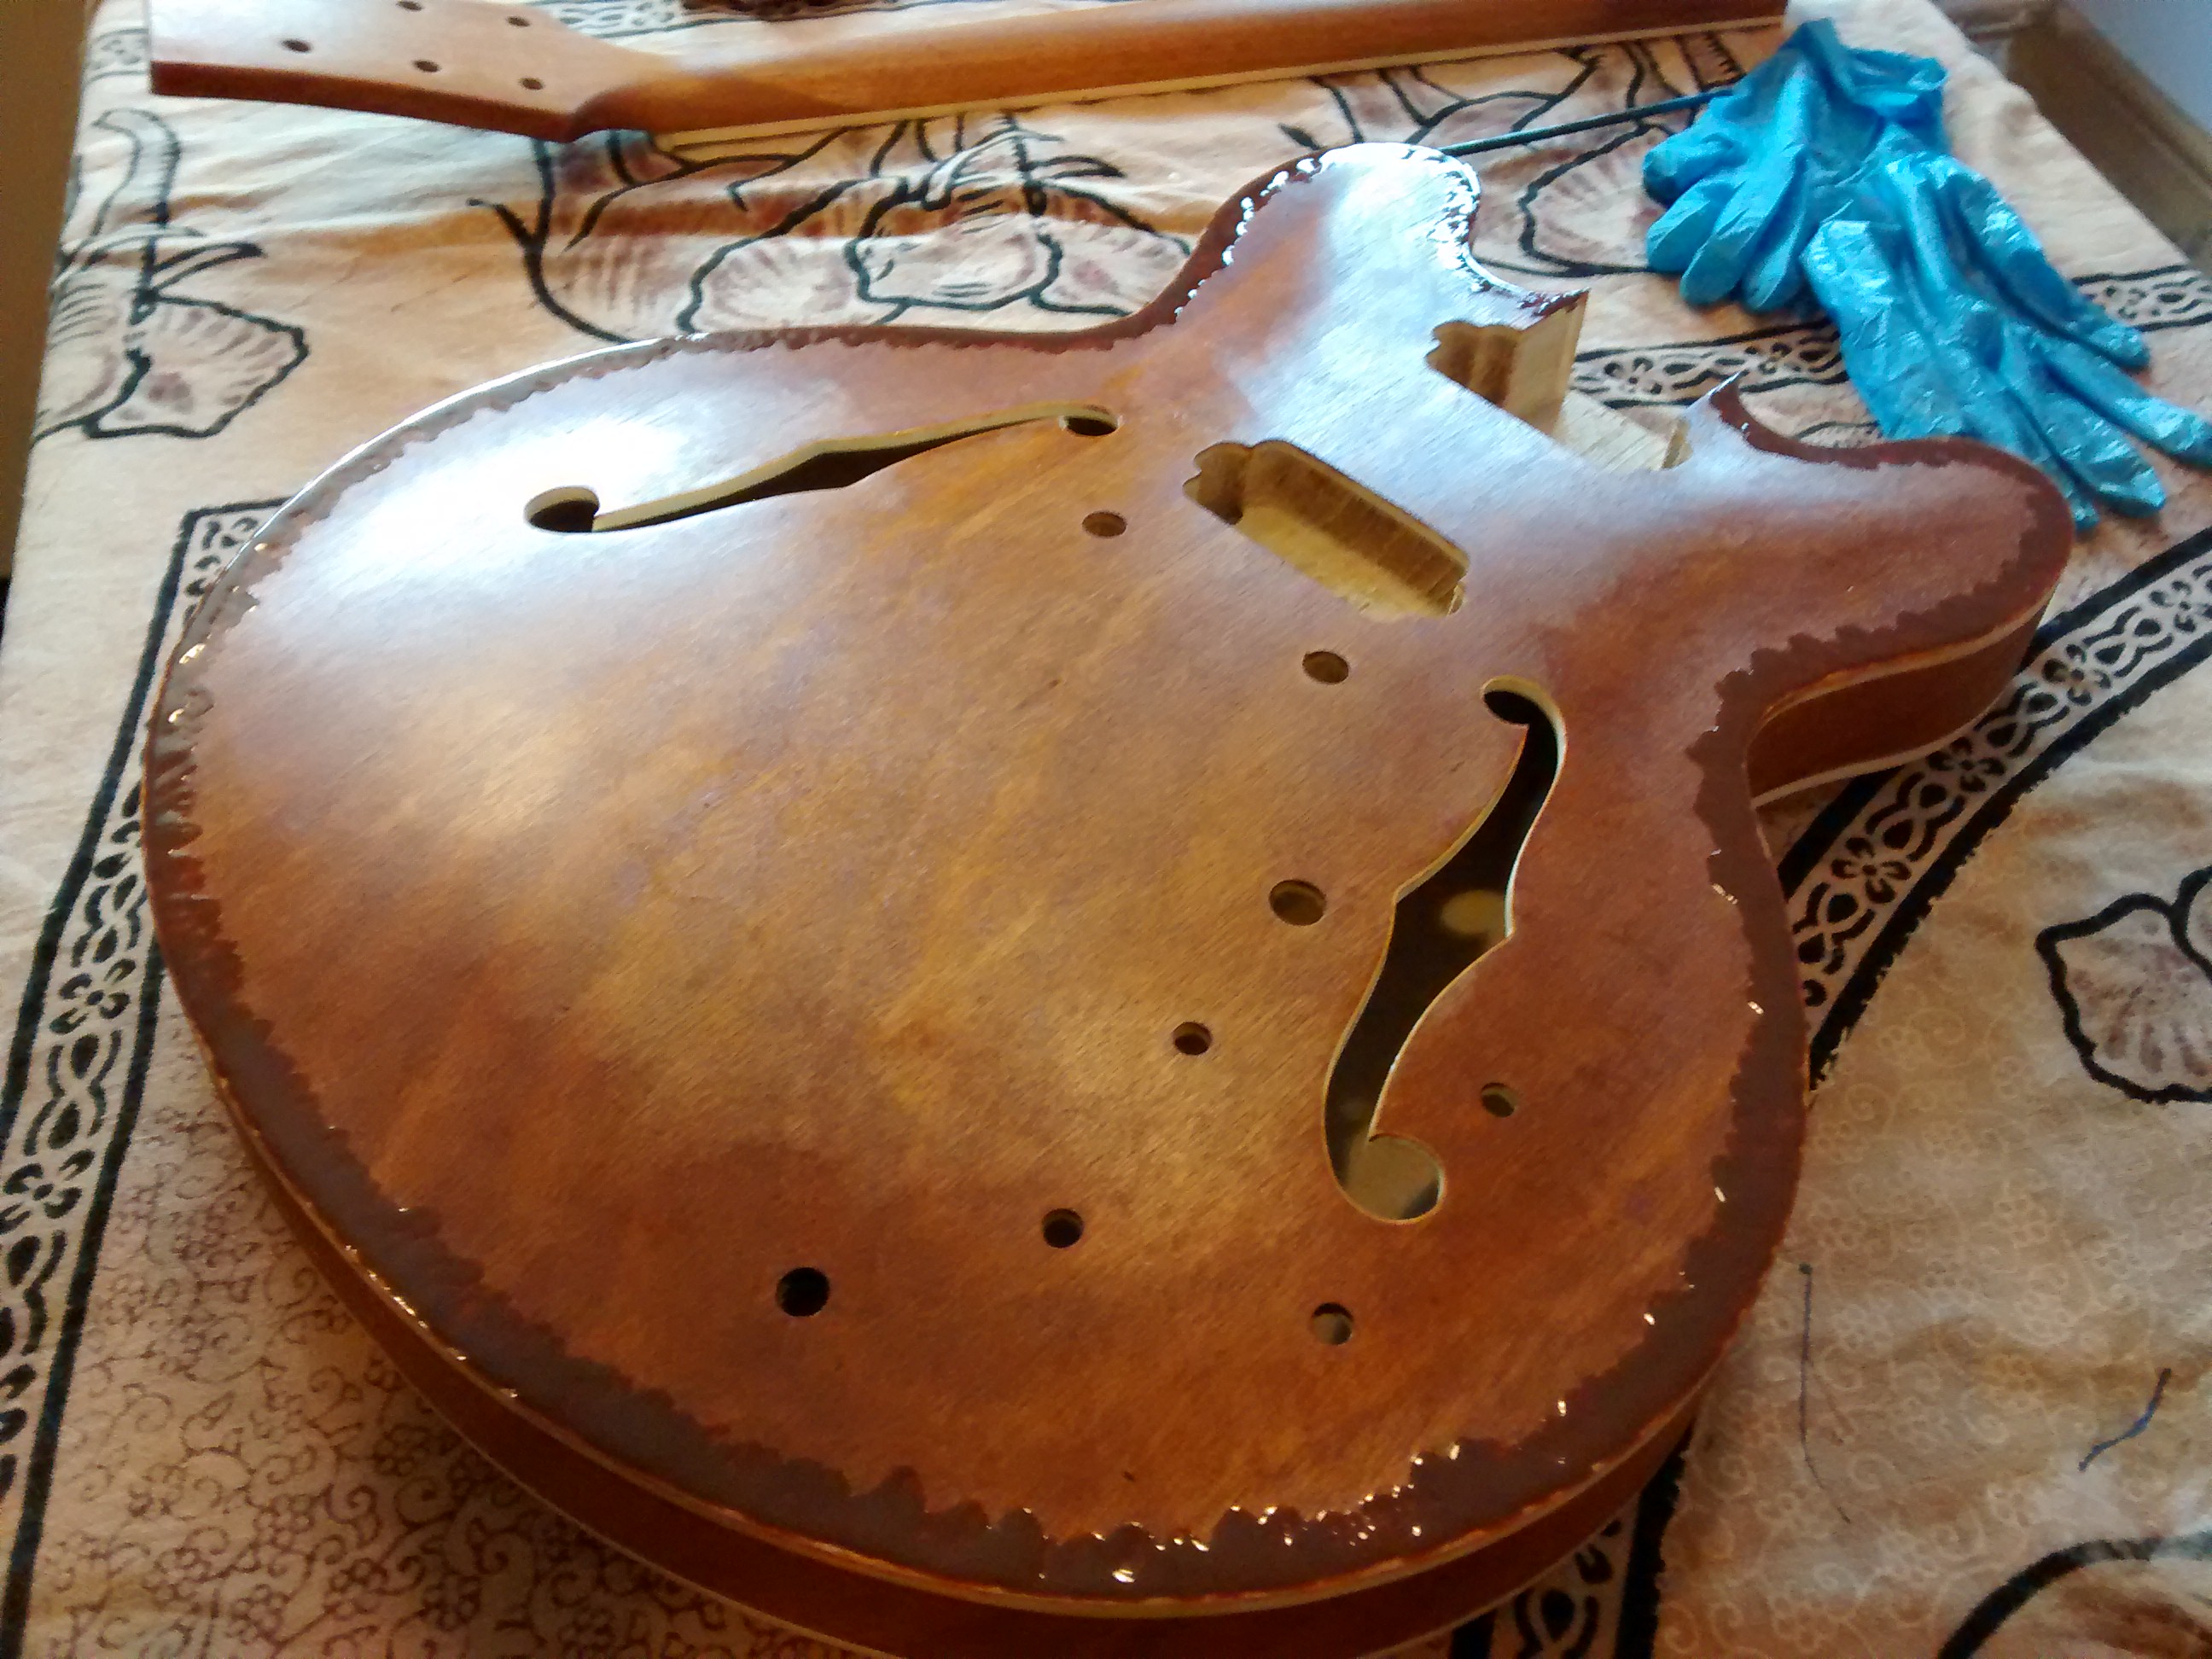
Mid progress wiring harness
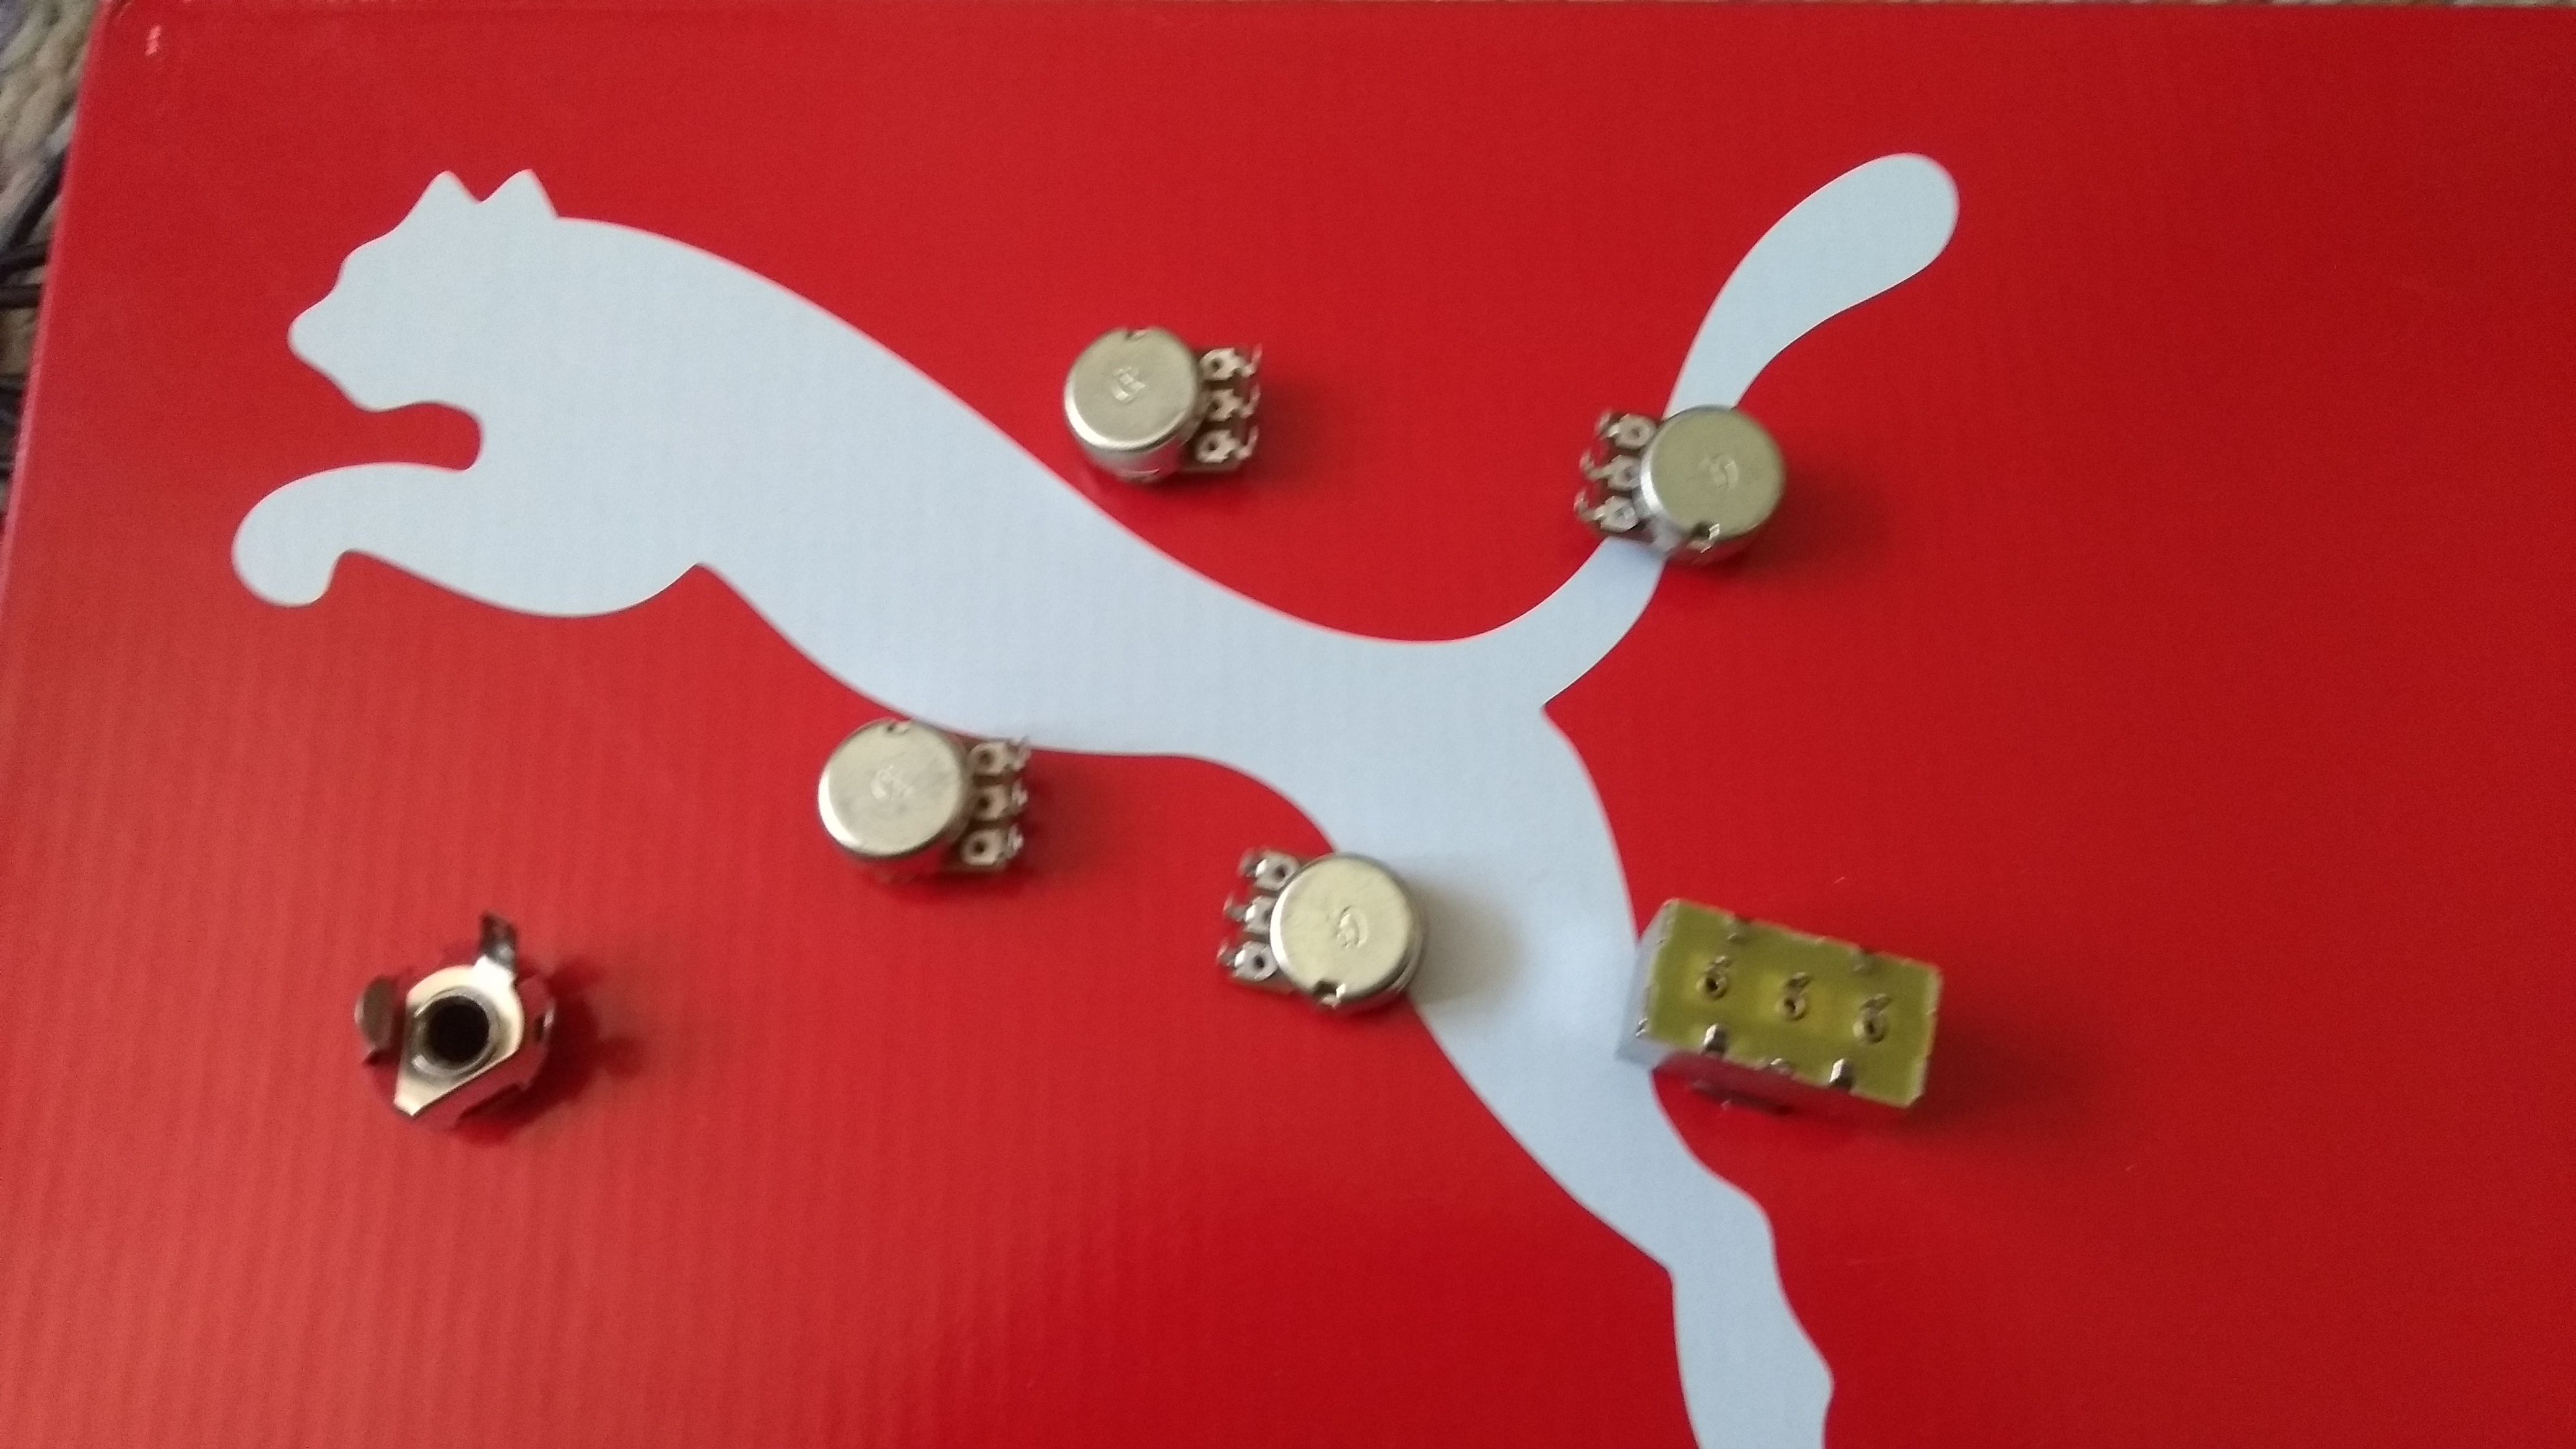
This harness gradually gets more complicated as you add more wires and more components. I didn’t get a wiring diagram with the kit – just a bag of components – so I had to do a bit of research and there are a lot of different approaches to this. Eventually I found a diagram that matched the collection of components I had.

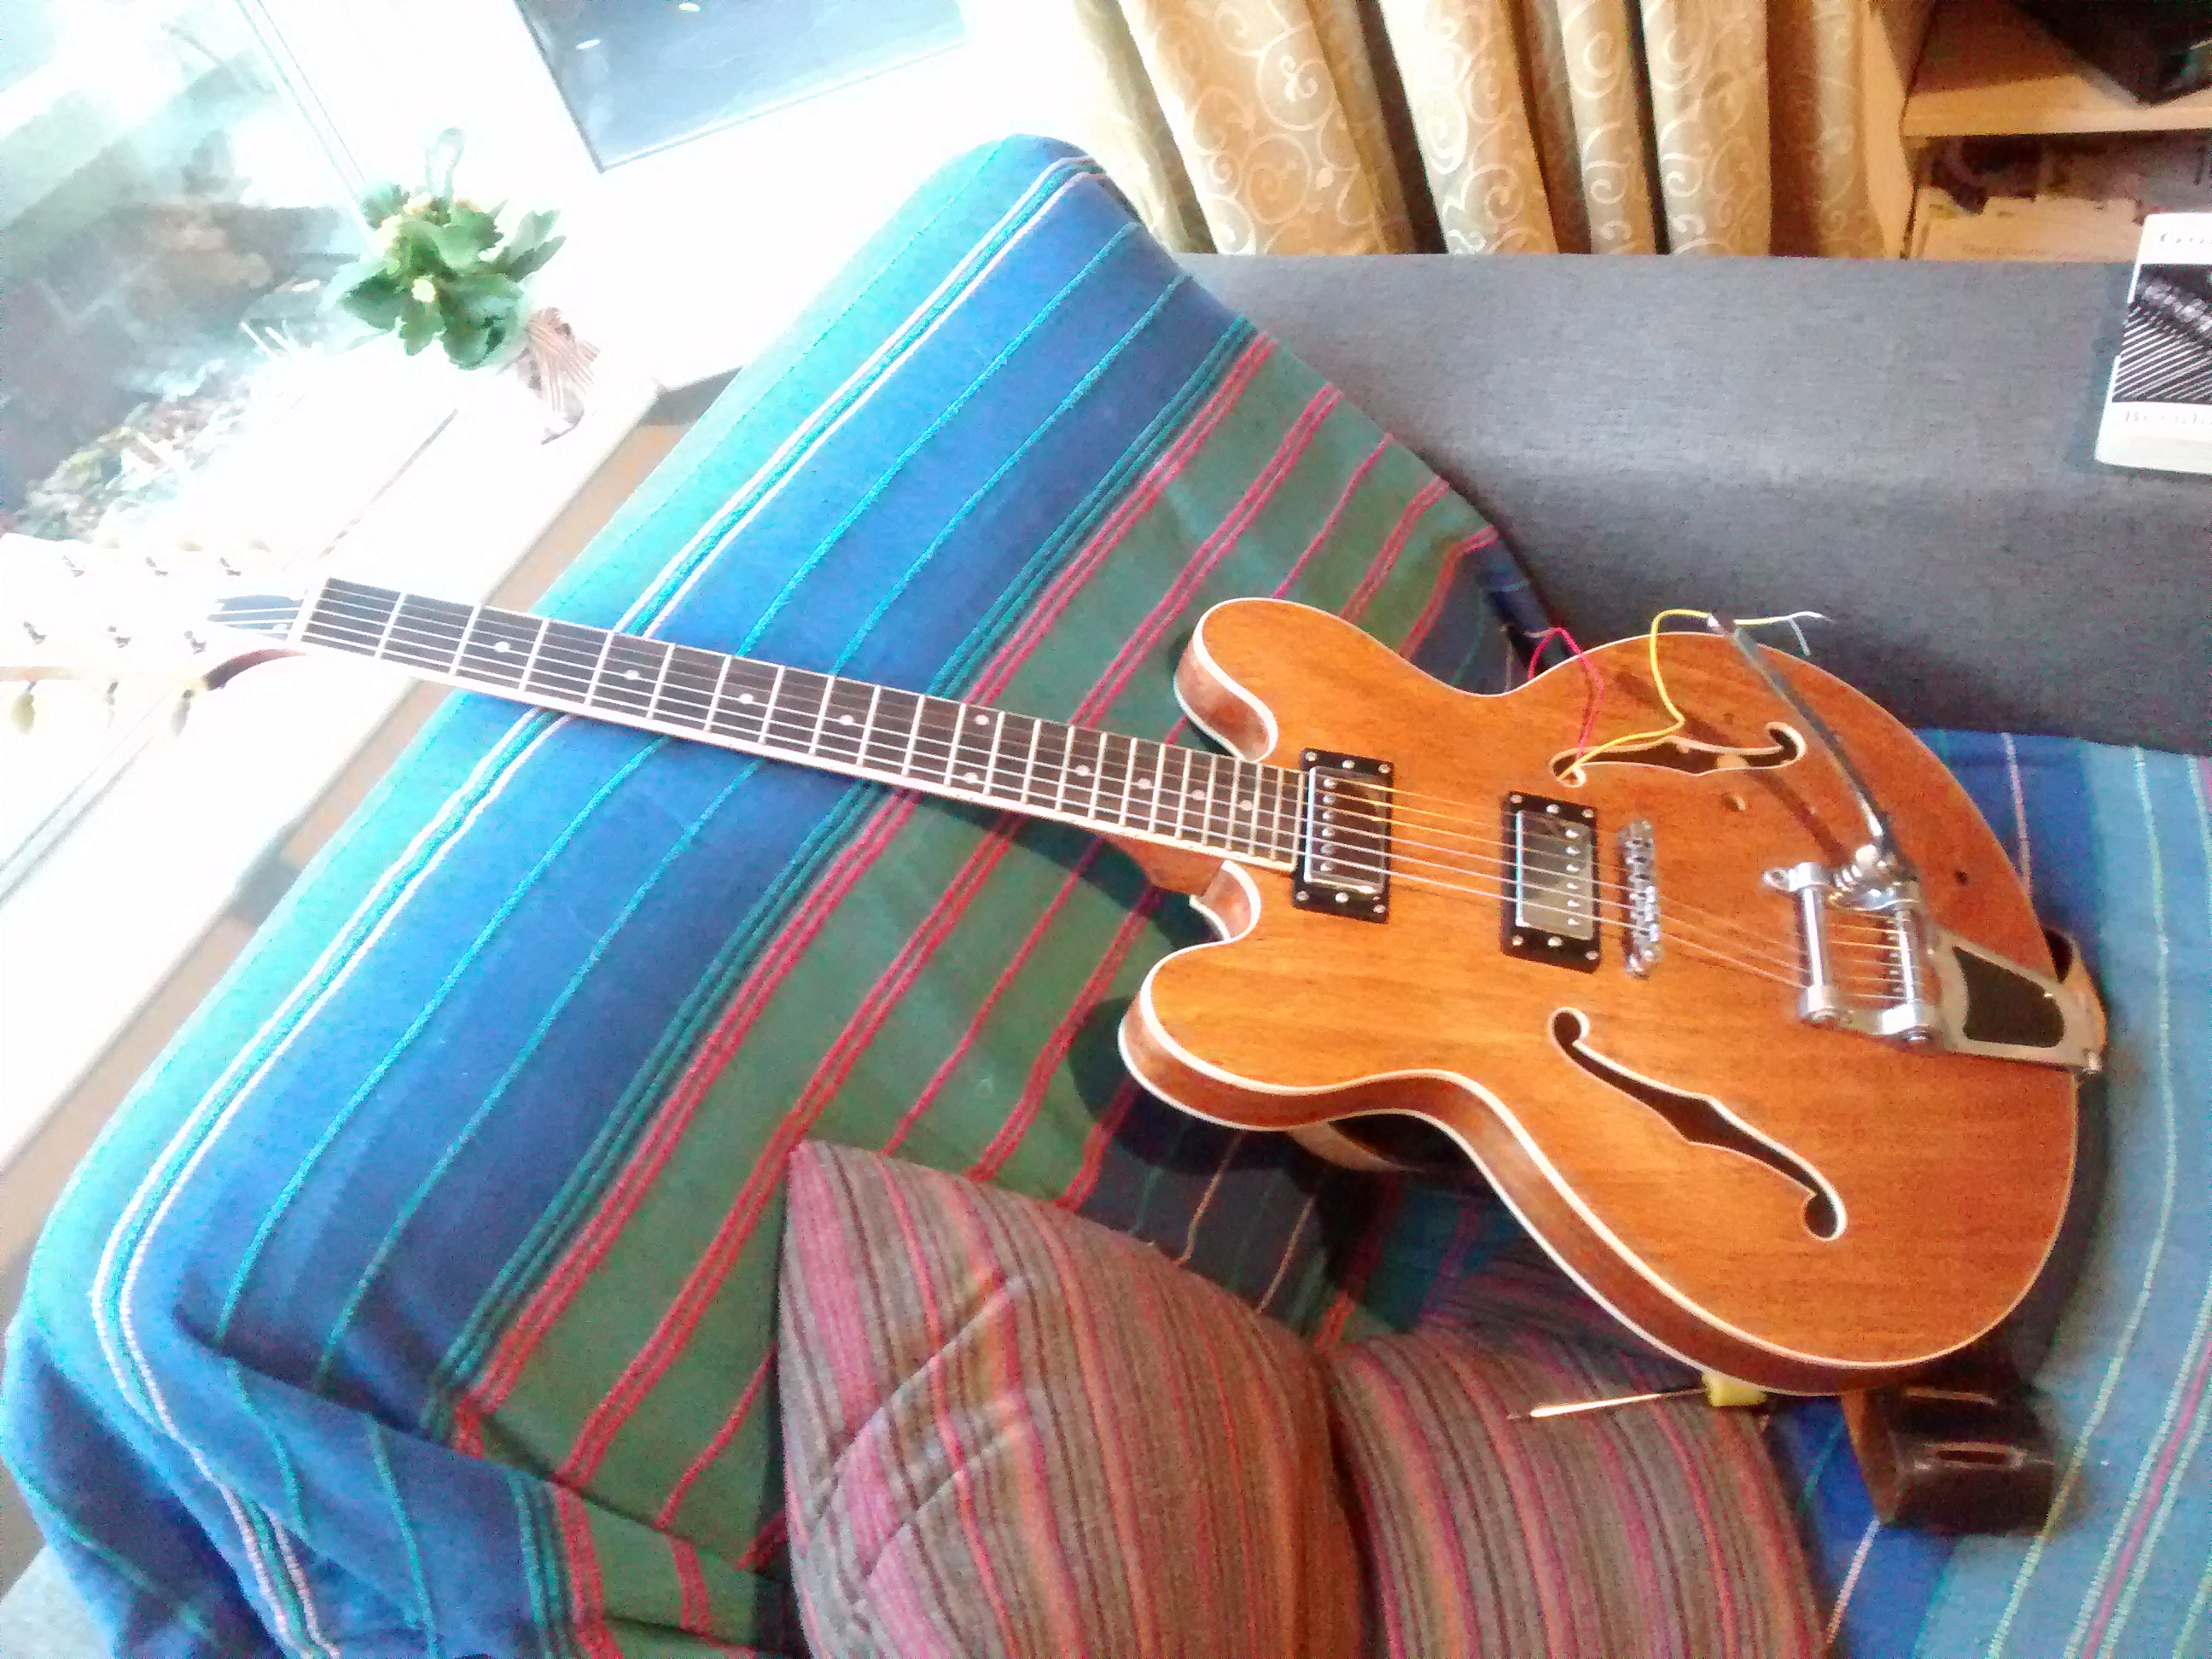
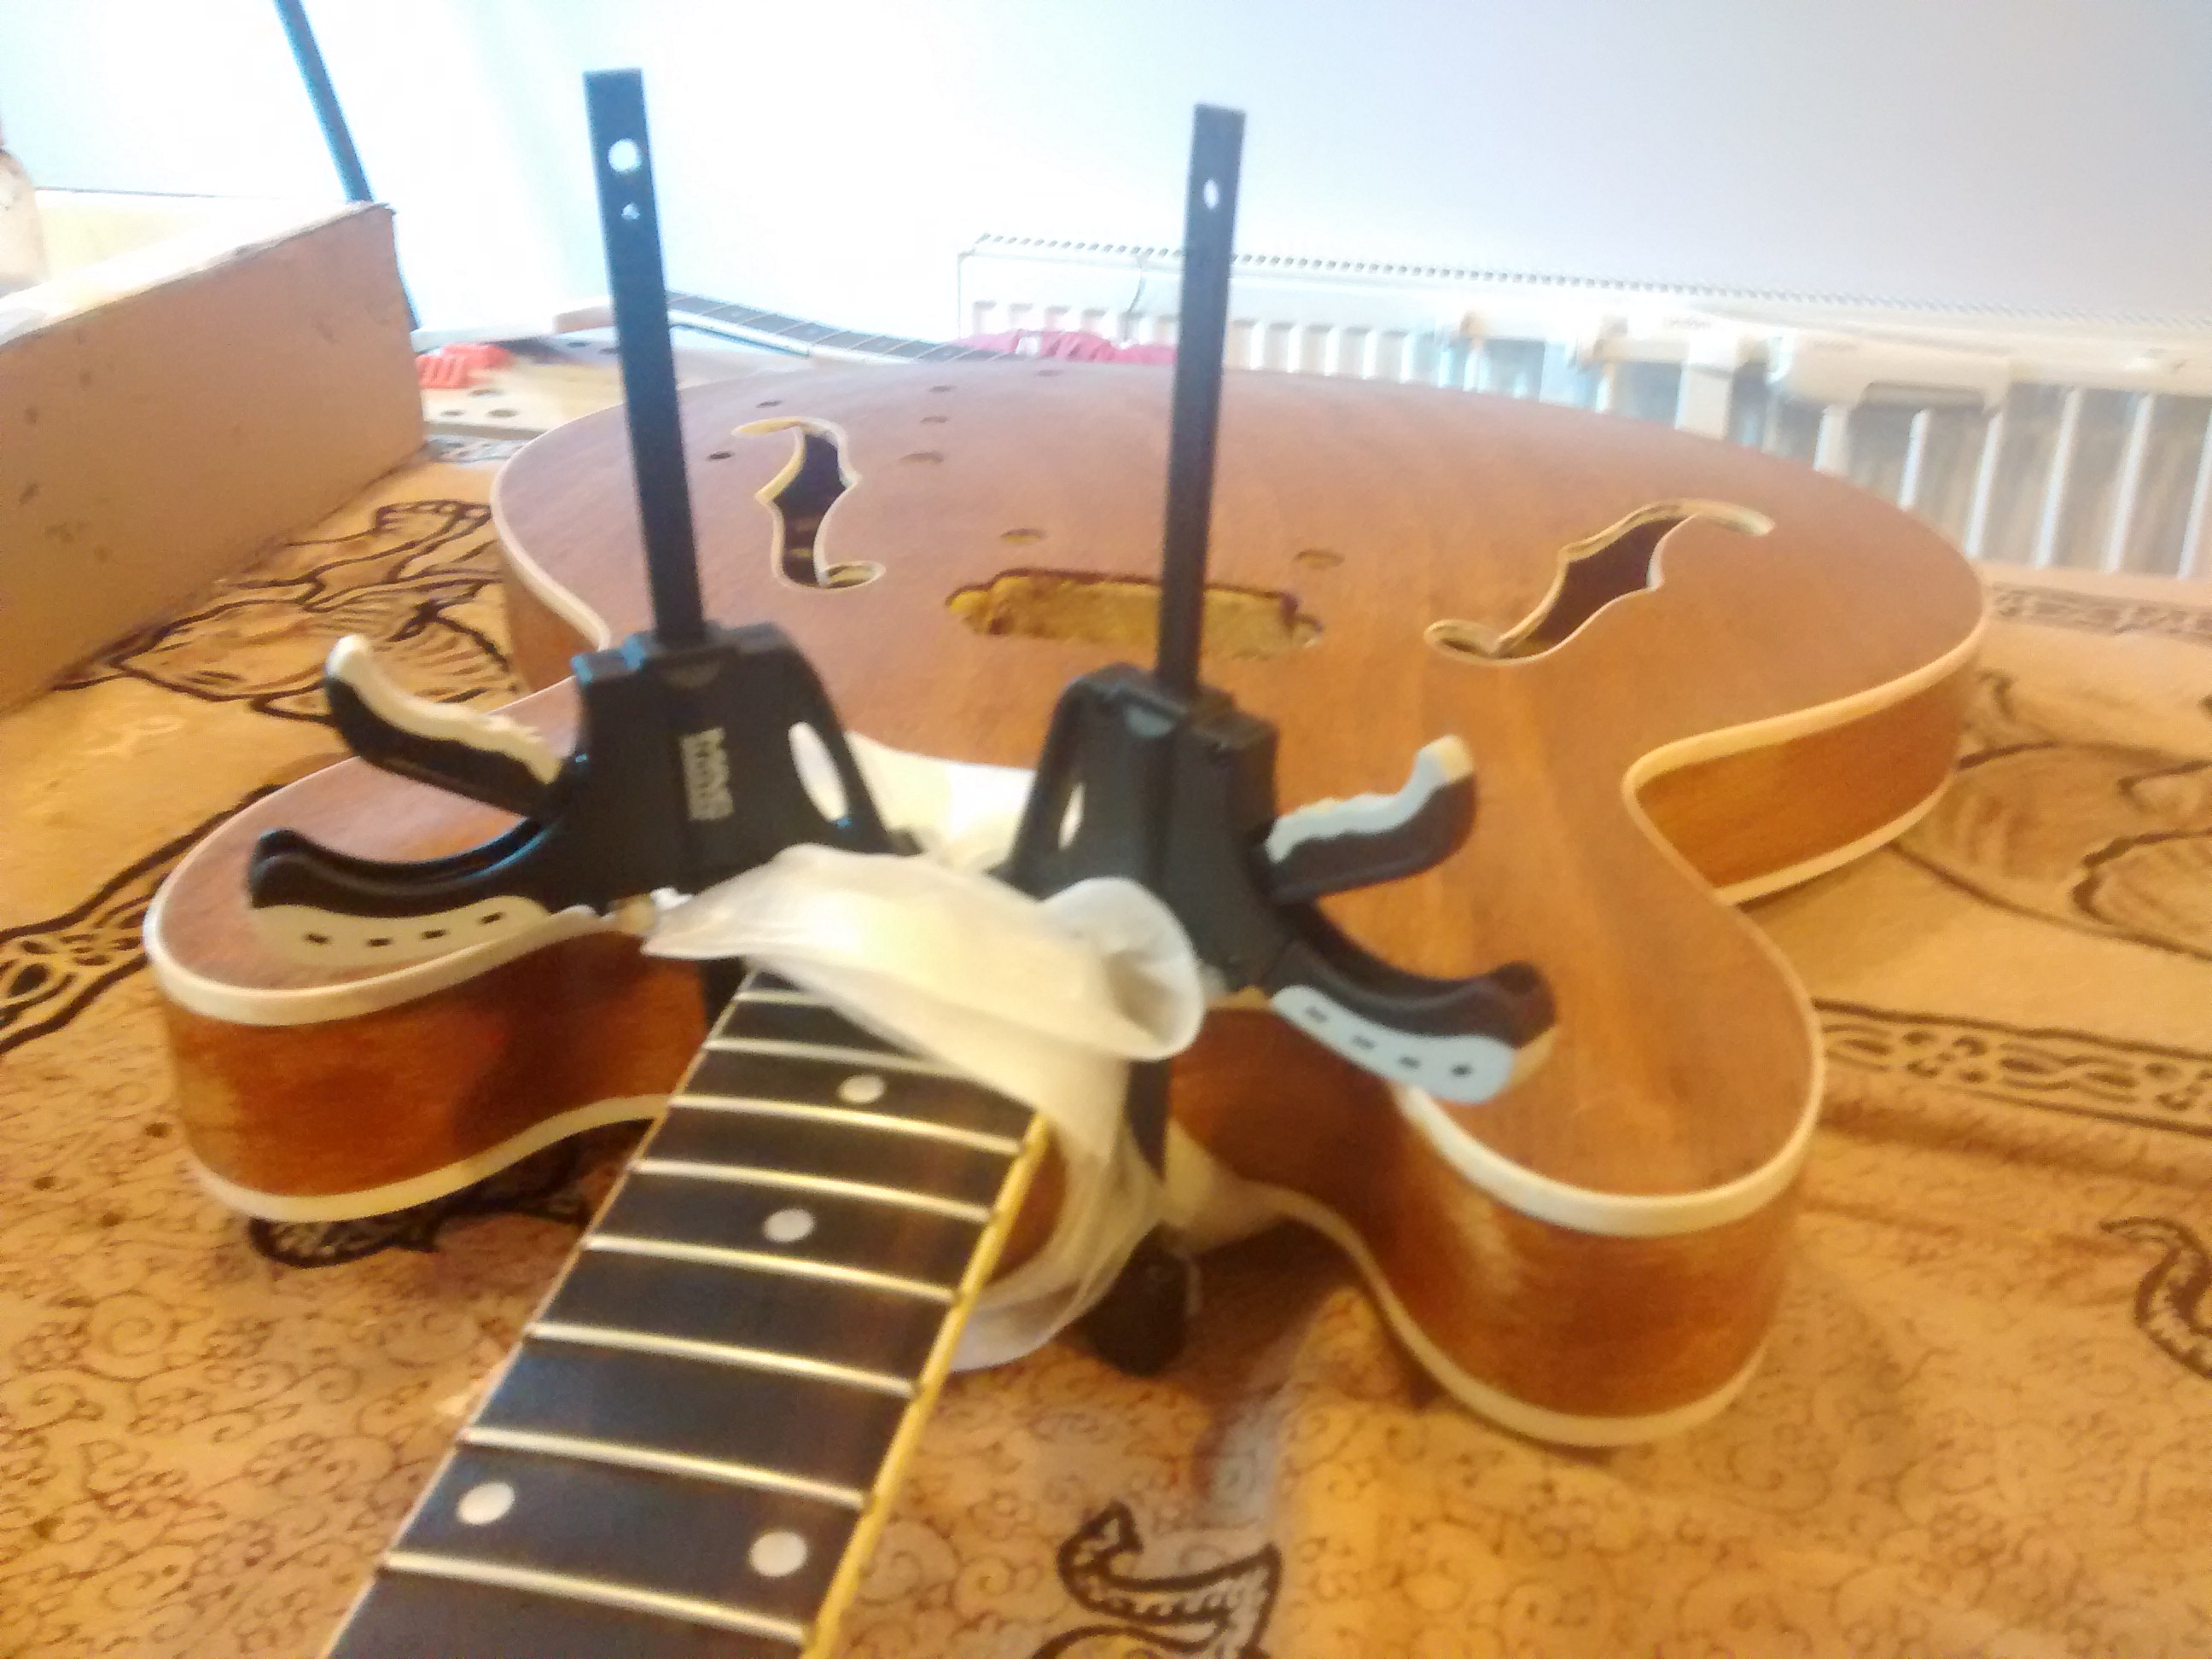
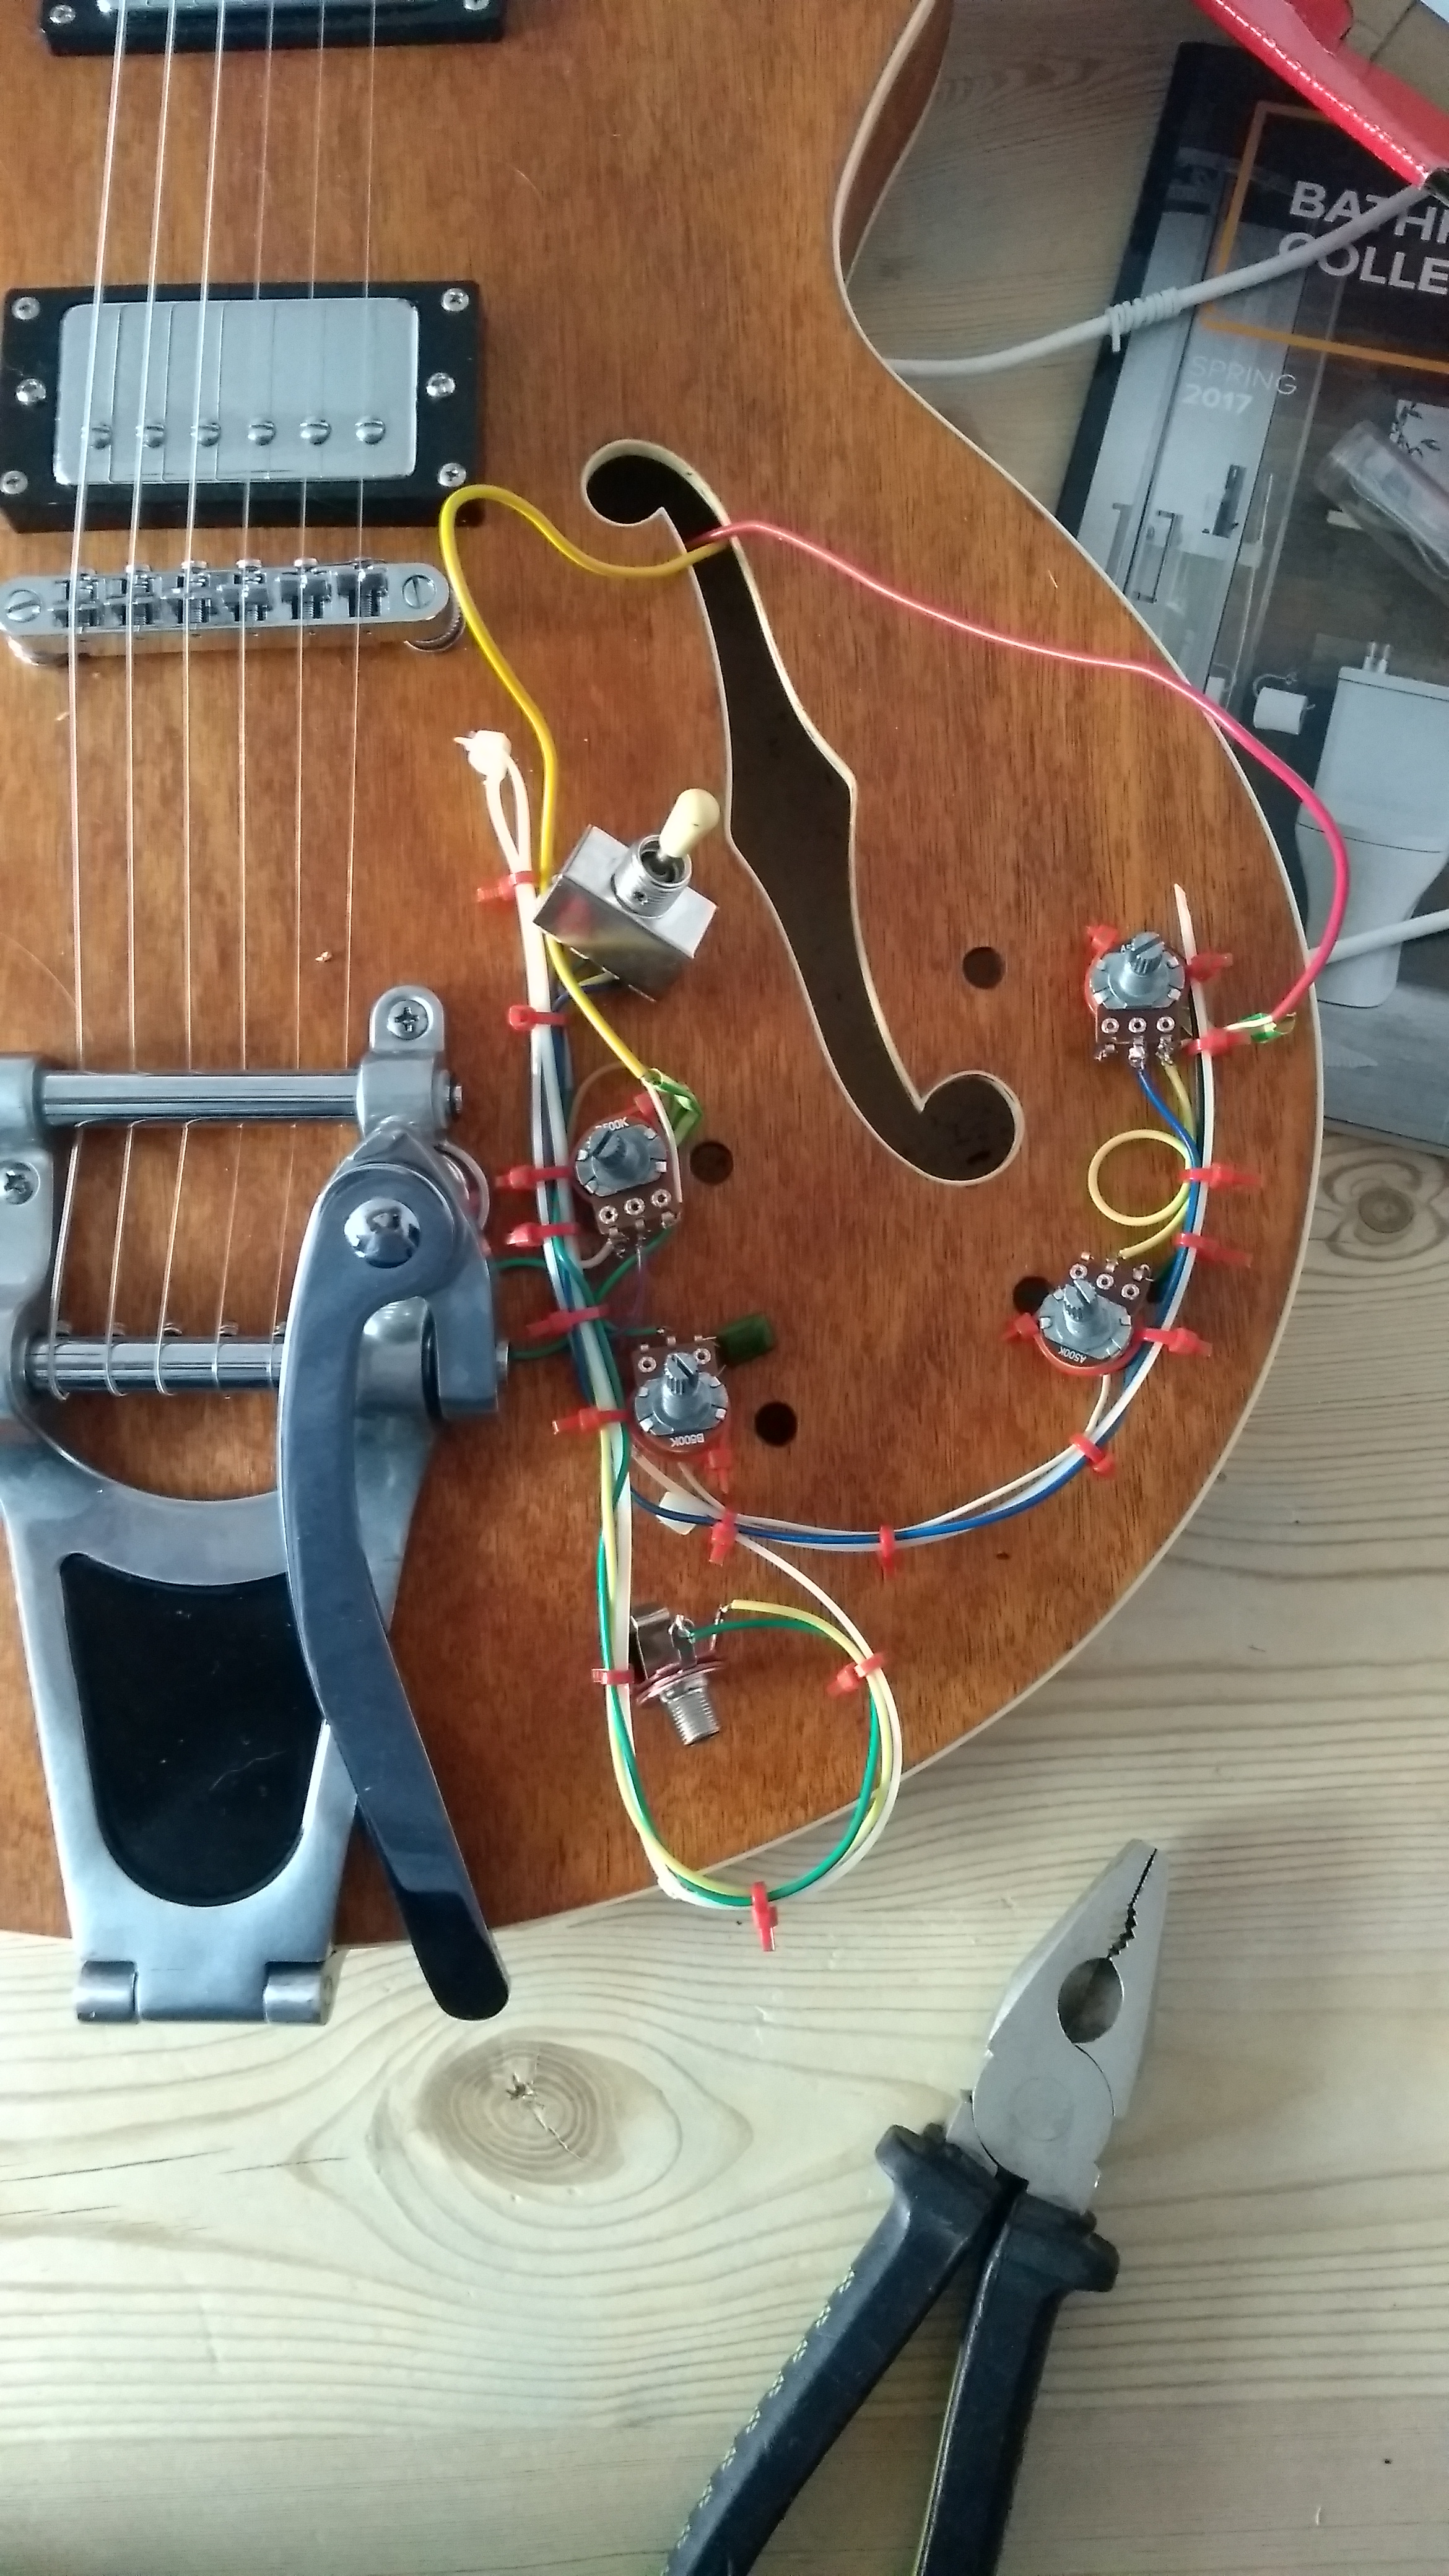
Wiring harness in place
After a lot of soldering and a lot of trips up and down stairs to the amp to check if things were working I ended up with this:
All the components on a flexible cable-tie harness outside the body but all sitting in the right place above their corresponding holes.
Next step is to tie them all to strings and feed them into place – but that’s for another time.